What is the Trick to Making Cake Pops?
Introduction:
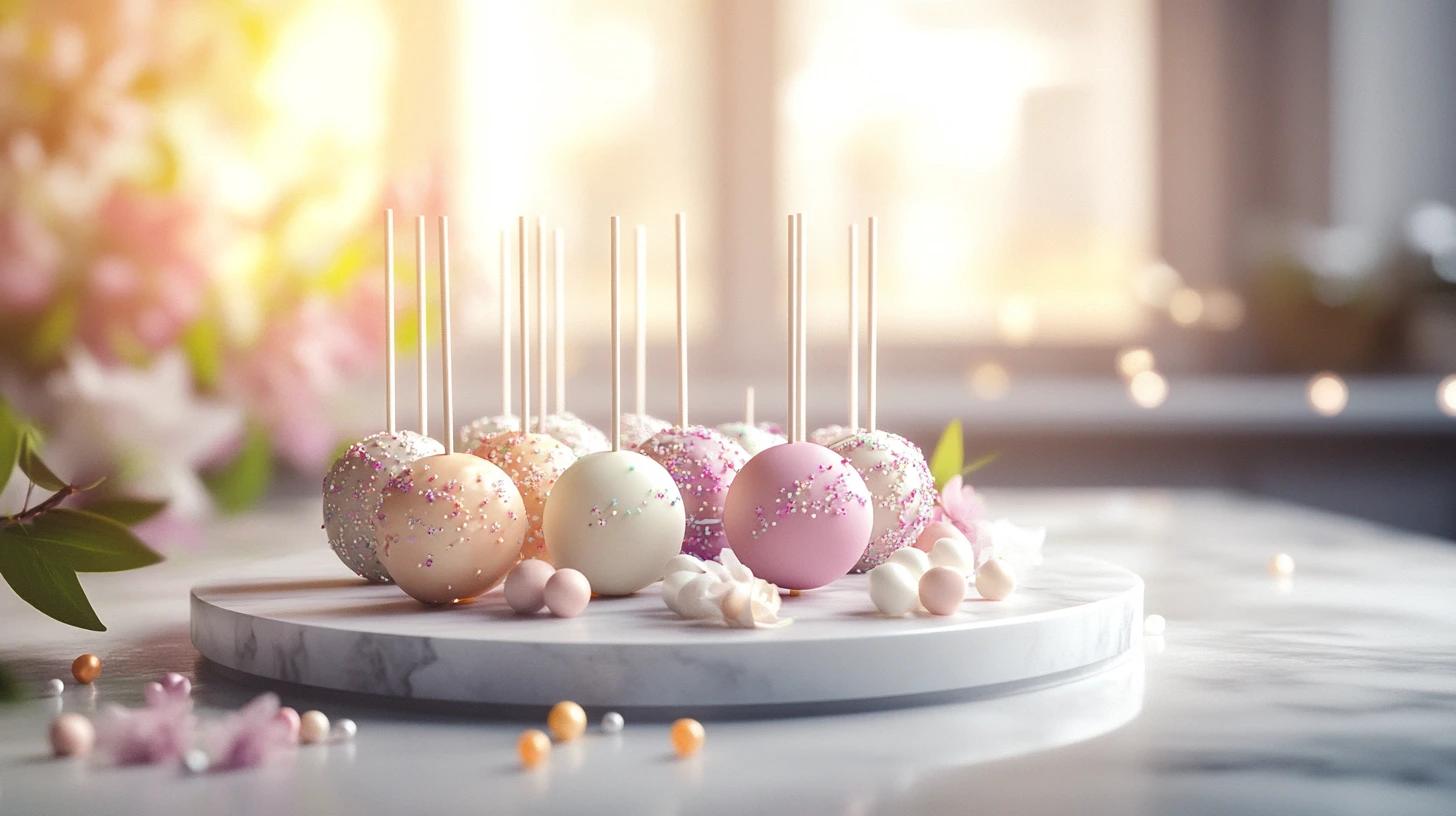
Cake Pops have taken the culinary world by storm, becoming a favorite treat for parties, celebrations, and casual indulgence. These bite-sized desserts combine the moistness of cake with the convenience of a lollipop, offering a delightful experience for the taste buds. Their versatility in design and flavor has made them a staple in bakeries and home kitchens.
The Origins
The concept of cake pops can be traced back to creative bakers looking for ways to repurpose leftover cake crumbs. While the exact origin is debated, the modern version of cake pops gained popularity thanks to the innovative approach of combining crumbled cake with Frosting, shaping them into spheres, and coating them in chocolate or candy melts. The playful presentation and easy portability quickly caught on, making them a hit among children and adults.
Why Cake Pops Became a Trend
Several factors have contributed to the meteoric rise of cake pops. First, their eye-catching appearance makes them a standout addition to dessert tables and social media posts. Second, there are endless customization possibilities—can be tailored to match themes, colors, and flavors for any occasion. Lastly, their size and on-the-go nature appeal to modern lifestyles, offering a quick and satisfying sweet treat without needing utensils or plates.
Key Ingredients for Making Perfect Cake Pops
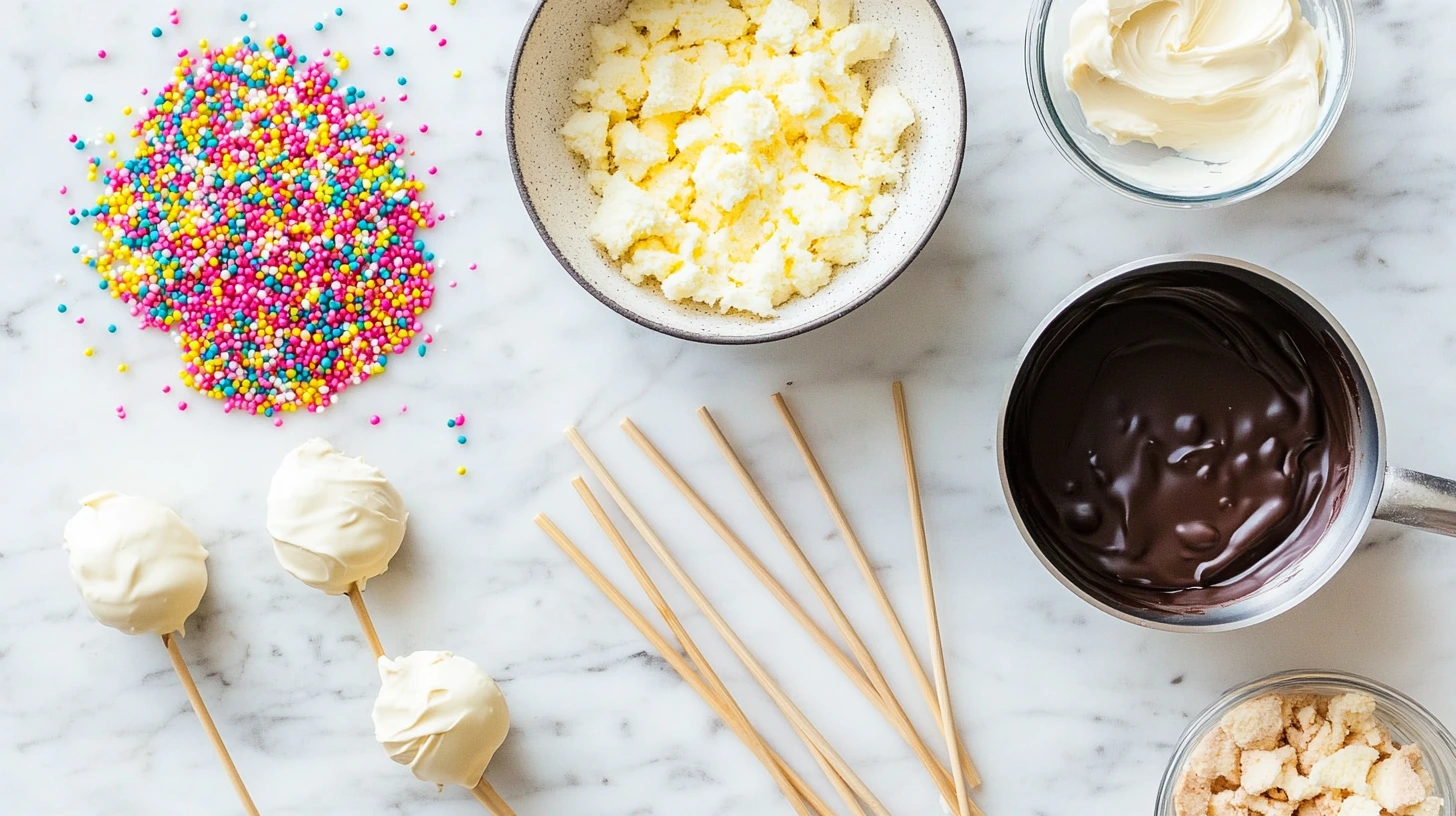
Creating the perfect cake pops requires attention to detail and the right combination of ingredients. Each component ensures your cake pops are delicious, visually appealing, and structurally sound.
Choosing the Right Cake Mix or Recipe
For convenience, you can use a boxed cake mix or prepare a homemade cake if you prefer a specific flavor profile. The key is to ensure the cake is moist and flavorful. Popular choices include vanilla, chocolate, red velvet, and confetti. The cake’s texture is important because it will later be crumbled and mixed with Frosting to create the perfect consistency for shaping.
The Role of Frosting
Frosting is the glue that binds the crumbled cake together, forming a dough-like consistency that can be shaped into balls or other creative forms. The type and amount of Frosting are crucial—too much can make the mixture too sticky, while too little can result in crumbly cake pops. Buttercream and cream cheese frosting are popular options, but you can experiment with flavors to match the cake. Always add the Frosting gradually until you achieve the desired texture.
The Importance of Candy Coating and Chocolate Dipping
The outer coating of a cake pop gives it its polished, professional look. Candy melts and melted chocolate are the most common options, providing a smooth, firm shell that helps keep the cake pops intact. Candy melts are especially popular for their wide range of colors and ease of use, while high-quality chocolate offers a rich and luxurious finish. For best results, ensure the coating is warm and smooth, and gently tap off excess coating after dipping to avoid lumps or streaks.
Step-by-Step Guide to making cake pops
Making cake pops may initially seem intimidating, but with a systematic approach, you can master this delightful treat. Follow these steps to ensure your cake pops are delicious and visually stunning.
Baking the Cake for Cake Pops
An excellent cake pop starts with a great cake. Here’s how to make it happen:
Homemade vs. Store-bought Cake Mix
Deciding between homemade and store-bought cake mix depends on your time and preference. A homemade cake allows for customization in flavor and ingredients, giving you complete control over the final product. However, store-bought cake mixes are convenient and often deliver consistent results.
Essential Tips for a Fluffy Cake
Whether using a mix or baking from scratch, focus on creating a fluffy and moist cake. Use room-temperature ingredients, avoid overmixing the batter, and bake at the recommended temperature. Keep an eye on the cake during baking to avoid overcooking, as dryness can affect the texture of your cake pops.
Crumbling the Cake: Key to the Perfect Texture
Once baked and cooled, the cake must be crumbled into fine, even pieces.
How to Achieve the Ideal Crumble
Use your hands or a food pr:
- Use to break the cake into uniform crumbs to achieve the best texture.
- Void large chunks, as they can make it difficult to mix the Frosting evenly.
Ensure the cake is completely cooled before crumbling to prevent sogginess.
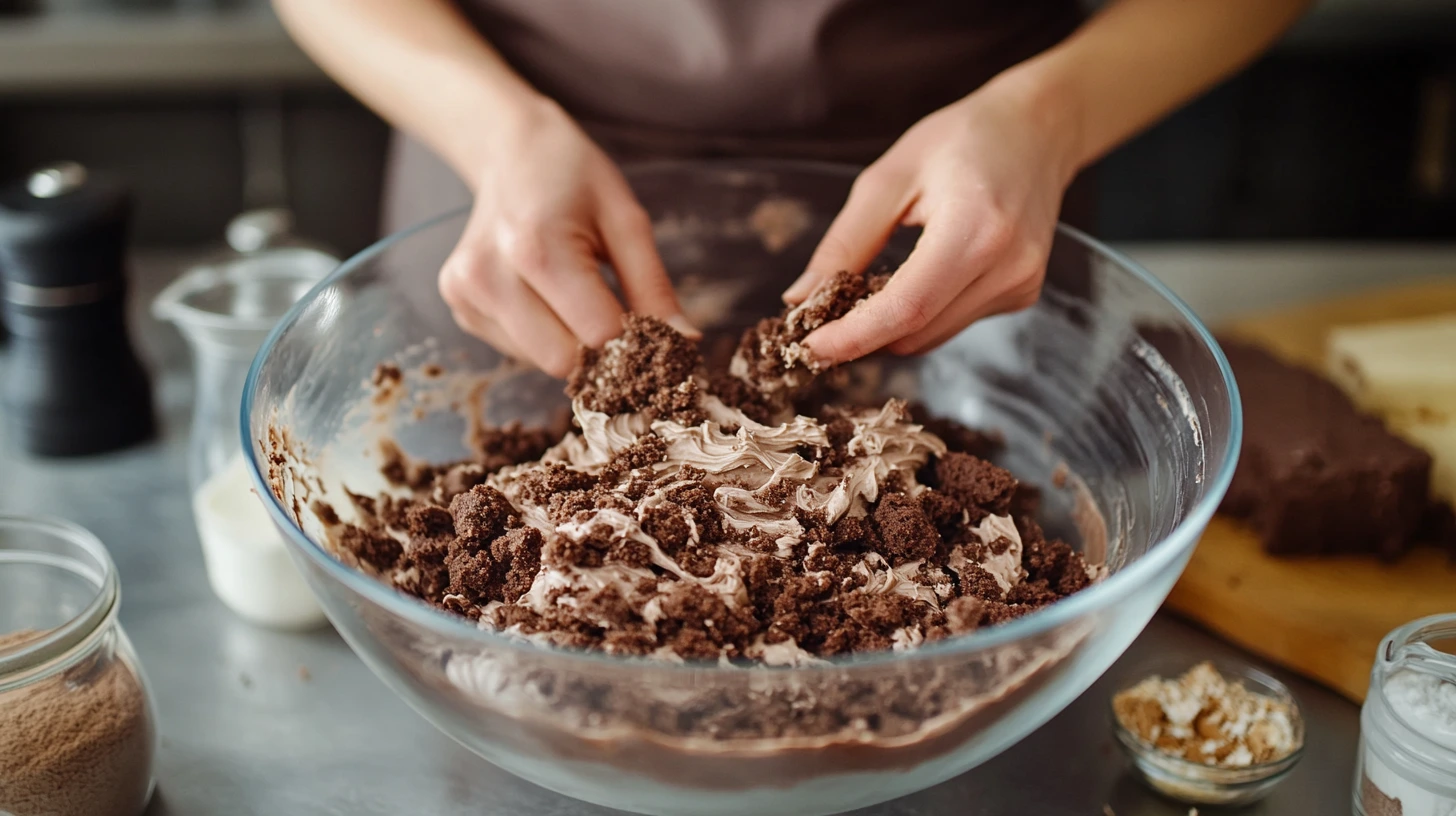
mixing the Frosting and Cake Crumbs
The Frosting is the binding agent that holds the cake crumbs together.
Finding the Right Frosting-to-Cake Ratio
Add some frosting to the cake crumbs, gradually increasing until the mixture reaches a dough-like consistency. Too little Frosting will make the mix fall apart, while too much can make it sticky and difficult to work with.
Avoiding Overmixing the Cake Pop Dough
Mix just until the cake crumbs and Frosting are combined. Overmixing can lead to a dense texture, affecting the cake pops’ overall appeal.
Shaping the Cake Pops: Tips for the Perfect Round Shape
Forming evenly shaped cake pops is essential for a professional finish.
Tools You Can Use to Shape Cake Pops
You can use your hands, a small cookie scoop, or a silicone cake pop mold to shape the mixture into uniform balls. Consistency is key, so measure out equal portions before rolling. Chill the shaped balls for 15-20 minutes to make them firmer and easier to handle.
Inserting the Stick and Preparing for Dipping
Dip the end of a lollipop stick into melted candy coating or chocolate, then insert it halfway into each cake ball. This helps anchor the stick and prevents it from sliding out during dipping. Chill the cake pops again after inserting the sticks to ensure they are firm enough for coating.
By following these steps and tips, you’ll be well on your way to creating cake pops that are not only delicious but also beautifully crafted for any occasion.
Perfecting the Candy Coating
The candy coating is a critical step in creating stunning cake pops. A smooth, glossy finish elevates their appearance and ensures the pops hold together well. Here’s how to perfect this step.
Melting the Chocolate or Candy Coating: Tips for Smooth Dipping
Achieving the perfect consistency for dipping requires careful preparation and technique.
Choosing Between Chocolate and Candy Melts
- Candy Melts: These are popular because they come in various colors and are easy to work with. They don’t require tempering and are ideal for themed cake pops.
- Chocolate: High-quality chocolate provides a richer flavor but often needs tempering to achieve the right texture and shine. For convenience, you can use compound chocolate or add a small amount of vegetable shortening to melted chocolate to simplify the process.
How to Avoid Cracks or Imperfections in the Coating
- Ensure the cake pops are at the right temperature before dipping. If they’re too cold, the sudden temperature change can cause the coating to crack.
- Melt the candy or chocolate slowly using a double boiler or microwave in short intervals, stirring frequently to prevent overheating.
- If the coating is too thick for smooth dipping, add a small amount of vegetable oil or shortening. Avoid adding water, as it can cause the mixture to seize.
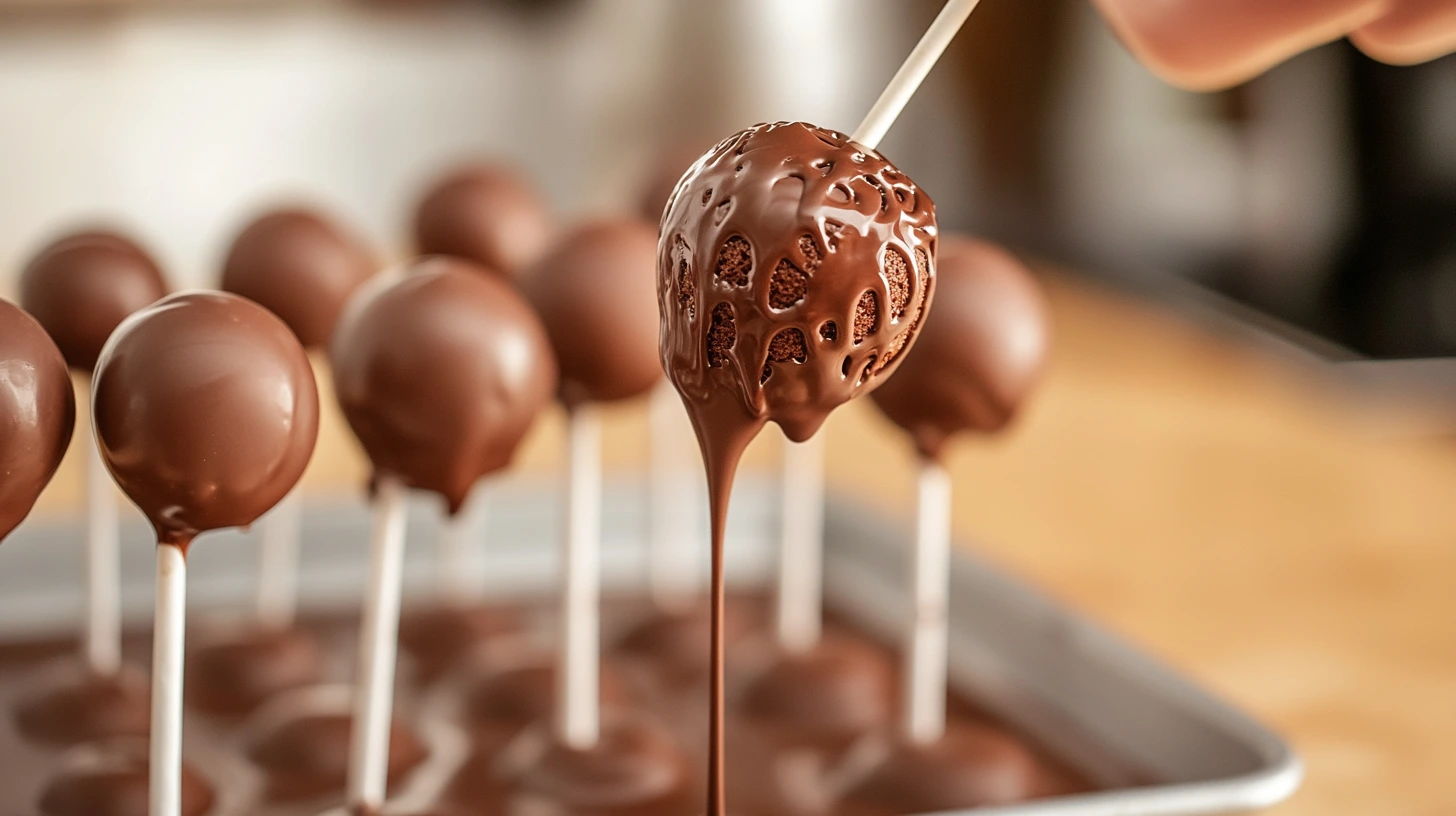
Dipping Techniques for a Professional Finish
The dipping process is where cake pops indeed come to life.
- Prepare the Coating: Pour the melted coating into a deep, narrow container to make dipping easier and ensure complete coverage.
- Dip with Care: Hold the cake pop by the stick and submerge it completely in the coating. Gently swirl to cover any missed spots. Avoid stirring too vigorously, as this can loosen the cake pop from the stick.
- Tap Off Excess: Gently tap the stick on the edge of the container while rotating the cake pop. This removes excess coating and creates a smooth surface.
- Decorate Quickly: Add sprinkles, edible glitter, or other decorations while the coating is wet. For designs that require piping or detailed work, allow the initial coating to set first.
Decorating and Personalizing Your Cake Pops
One of the most exciting aspects of cake pops is the opportunity to get creative with their decoration. With countless options for toppings and edible decorations, you can transform these sweet treats into works of art that suit any occasion.
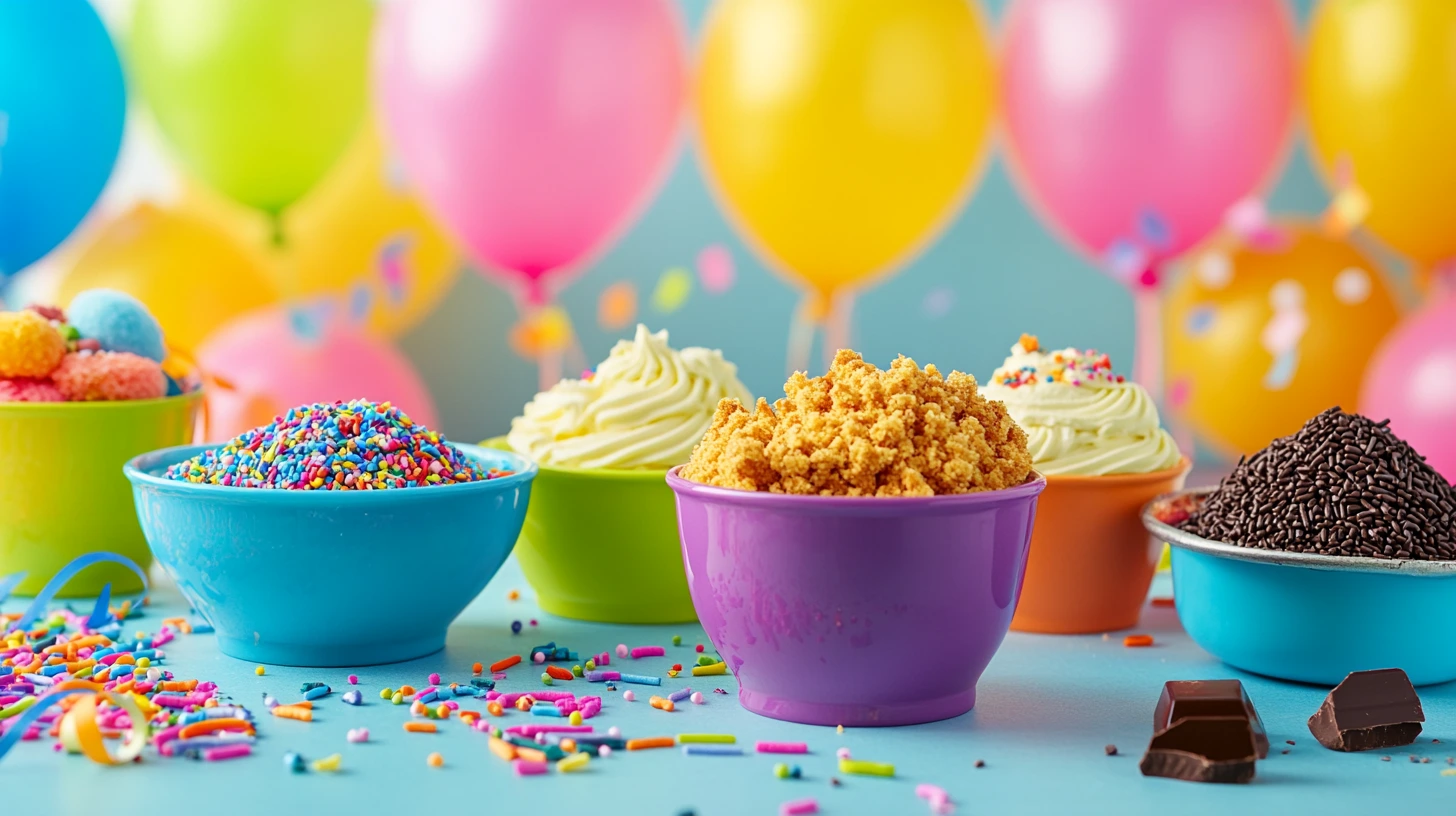
Creative Toppings and Sprinkles
Toppings and sprinkles are a simple yet effective way to add color, texture, and personality to your cake pops.
- Classic Sprinkles: From rainbow sprinkles to metallic hues, these add a playful and festive touch.
- Drizzles: Use melted chocolate or candy melts in a contrasting color to create decorative drizzles on the cake pops.
- Crushed Candies: Crushed peppermints, toffee bits, or cookie crumbs can add a delightful crunch and unique flavor.
- Themed Shapes: To match the theme of your event, look for sprinkles shaped like stars, hearts, or holiday motifs.
When applying toppings, ensure the candy coating is still wet to ensure everything adheres securely.
Using Edible Decorations: From Colored Sugar to Nonpareils
Edible decorations take your cake pops to the next level with intricate designs and details.
- Colored Sugar and Glitter: Dust colored sugar or edible glitter over the wet coating to add a shimmering effect.
- Nonpareils: Tiny, round decorations like nonpareils add a pop of color and a crunchy texture. They’re perfect for fun, vibrant designs.
- Edible Pearls: Use edible pearls or metallic dragees for a sophisticated look. These are great for weddings or upscale events.
- Custom Designs: Personalize your cake pops with names, messages, or themed prints using edible markers or pre-made edible images.
Decorating cake pops is your chance to unleash creativity and tailor these treats to your occasion. With the right combination of toppings and decorations, your cake pops can become the centerpiece of any dessert table.
Common Mistakes and How to Avoid Them
Even seasoned bakers can encounter challenges when making cake pops. Here are some common mistakes and tips to avoid them, ensuring your cake pops are always perfect.
Over-Handling the Cake Mixture
One of the most frequent mistakes is overworking the cake and frosting mixture.
- What Happens: Overhandling can cause the mixture to become too dense or compact, resulting in heavy cake pops that are less enjoyable to eat.
- How to Avoid It: Mix the cake crumbs and Frosting gently until combined. Avoid excessive squeezing or kneading. Use a light touch when shaping the balls to maintain a fluffy, cake-like texture.
Too Much Frosting or Not Enough
Achieving the proper frosting-to-cake ratio is crucial for creating cake pops that hold their shape without being overly sticky or dry.
- What Happens:
- Too Much Frosting: The mixture becomes overly wet and sticky, making it hard to shape and handle. It may also result in unduly sweet cake pops.
- Not Enough Frosting: The mixture crumbles and falls apart, leading to unstable cake pops that won’t stay on the stick.
- How to Avoid It: Add Frosting gradually, starting with a small amount. Mix thoroughly and test the texture as you go. The mixture should hold together when pressed but should feel smooth and dry. A tablespoon of Frosting at a time is a good rule of thumb for finding the balance.
How to Store and Serve Cake Pops
Proper storage and presentation are key to ensuring your cake pops remain fresh and are a hit at parties or events. With some planning, you can keep them delicious and make them the centerpiece of your dessert table.
Storing Cake Pops for Maximum Freshness
To maintain the taste and texture of your cake pops, follow these storage tips:
- Before Coating: If you’re preparing cake pops in advance, store the uncoated cake balls in an airtight container in the refrigerator for up to 2 days or in the freezer for up to 2 weeks. Allow them to thaw slightly before dipping to prevent cracks in the coating.
- After Coating: Once dipped and decorated, place the cake pops in a stand or lay them on parchment paper to set completely. Store them in an airtight container lined with paper towels to absorb excess moisture.
- Room Temperature: If the coated cake pops don’t contain perishable fillings like cream cheese, they can be kept at room temperature for 1-2 days.
- Refrigeration: Cake pops can be stored in the refrigerator for up to a week, especially if they contain dairy-based ingredients. Please bring them to room temperature before serving to enhance flavor and texture.
- Freezing: For more extended storage, freeze the fully decorated cake pops. Wrap each one in plastic wrap and place them in an airtight container. Thaw in the fridge or at room temperature before serving.
Serving Tips for Parties and Events
Cake pops are as much about presentation as they are about flavor. Here’s how to make them shine:
- Creative Displays: Arrange your cake pops upright on a cake pop stand, foam block, or decorated styrofoam. This not only looks professional but also makes them easy to grab.
- Theme Coordination: Match the colors and decorations to the event theme. For example, use pastel hues for a baby shower or bold colors for a birthday party.
- Add Personal Touches: For a personalized touch, attach small tags or ribbons to the sticks, especially for weddings or thank-you gifts.
- Serve at the Right Time: Set out the cake pops shortly before serving to keep them fresh and prevent them from softening in warm environments.
Frequently Asked Questions (FAQs)
What is the Trick to Making Cake Pops Without Cracking?
Cracking occurs when there is a temperature difference between the cake pop and the coating.
- Solution: Ensure the cake pops are warm enough before dipping. After chilling, allow them to rest at room temperature for a few minutes. Similarly, avoid overheating the coating, as rapid cooling on an icy cake pop can cause cracks.
How Do I Make Cake Pops Stay on the Stick?
Cake pops falling off the stick is a common issue.
- Solution: Dip the tip of the stick into the melted coating before inserting it into the cake ball. This creates a “glue” that helps secure the stick. Also, make sure the cake mixture isn’t too heavy or over-frosted, as this can make them harder to support.
Can I Make it Ahead of Time?
Yes! Cake pops are a great make-ahead treat.
- Uncoated: Store uncoated cake balls in the fridge for up to 2 days or freeze for up to 2 weeks.
- Coated: Once dipped and decorated, store them at room temperature for 1-2 days or refrigerate for up to a week. They can also be frozen for more extended storage.
What is the Best Cake Flavor?
The best flavor depends on your preference and the occasion. Popular options include:
- Vanilla and chocolate are classic choices.
- Red velvet for a rich and colorful treat.
- Lemon or confetti for something light and playful.
You can also experiment with seasonal flavors like pumpkin spice or peppermint.
How Do I Keep it Moist?
Maintaining moisture is essential.
- Use Moist Cake: Start with a well-baked, moist cake. Avoid overbaking, as this can lead to dryness.
- Add Frosting Gradually: Use enough to bind the cake crumbs without making the mixture overly dense.
Can I Freeze it for Later?
Cake pops freeze well and can be enjoyed later with proper storage.
- Before Dipping: Freeze the shaped cake balls in an airtight container for up to 2 weeks. Thaw slightly before dipping.
- After Dipping: Wrap each cake pop in plastic wrap and place them in an airtight container. Freeze for up to 3 months. Thaw in the fridge or at room temperature before serving.
Conclusion
Cake-pops are a delightful blend of creativity, flavor, and fun. While they may seem intricate initially, with practice and the proper techniques, you can craft beautiful and delicious treats that are perfect for any occasion. From choosing the right ingredients to mastering the coating and decoration, every step is an opportunity to infuse your unique style and preferences.
Whether making it for a birthday party or wedding or to satisfy a sweet craving, the key is patience and attention to detail. By avoiding common mistakes, exploring creative decorations, and ensuring proper storage.