Table of Contents
Introduction to Ice Cream Cake
What is an Ice Cream Cake?
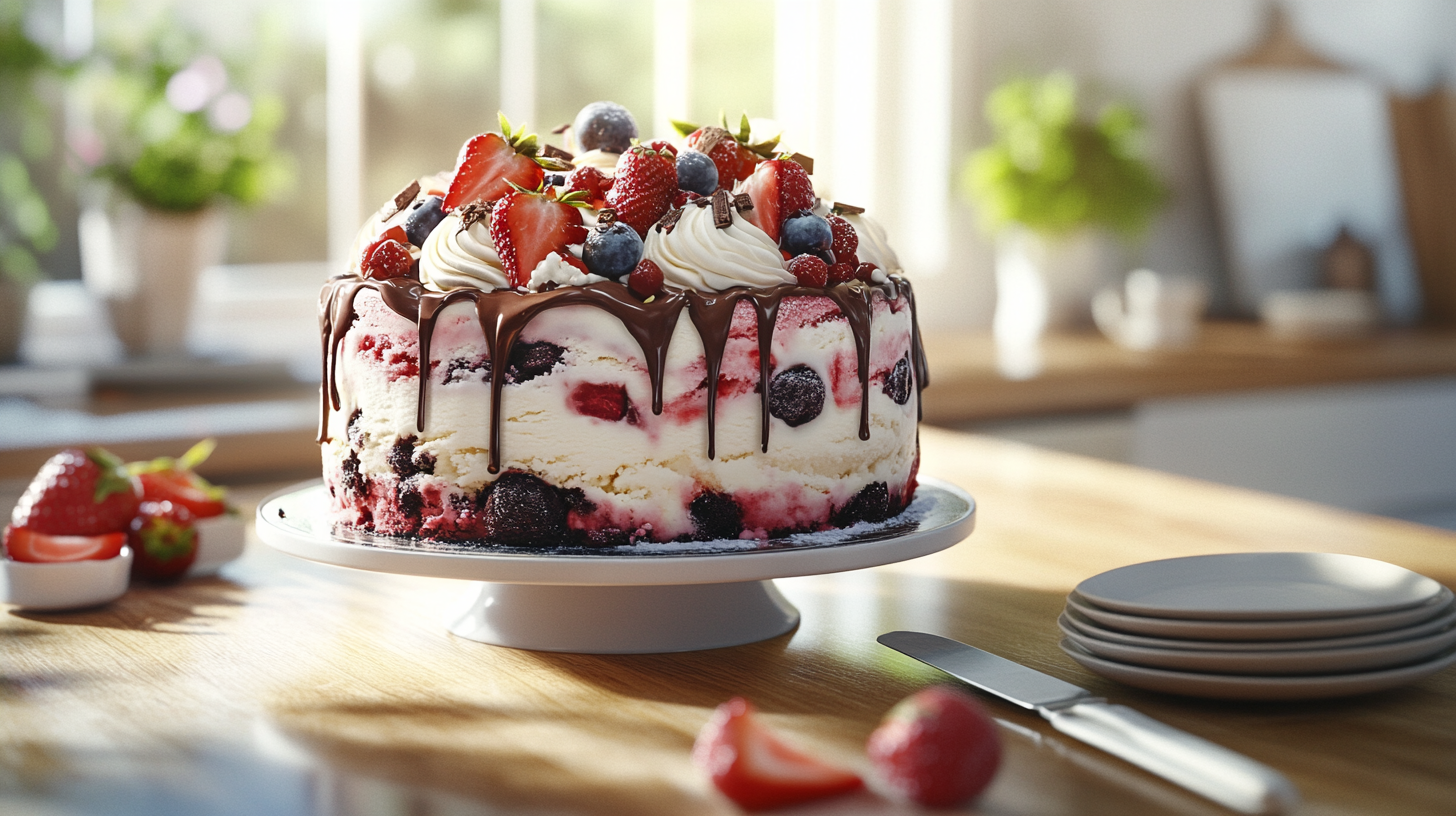
An ice cream cake recipe is a delightful dessert that combines the best of both worlds—layers of creamy ice cream and either sponge cake, cookie crumbs, or other sweet bases. It’s a frozen treat often adorned with whipped cream, frosting, or decorative toppings, making it a centerpiece for birthdays, weddings, and holidays. Unlike traditional cakes, its preparation and storage require freezing, making it unique in texture and presentation.
A Brief History of Ice Cream Cakes
The origins of ice cream cake date back to the 18th century in Europe, when desserts combining ice cream and sponge cake first appeared. These were often elaborate constructions served to nobility, resembling the luxurious “Bombes,” which were molds filled with layers of ice cream and fruit. By the 19th century, the dessert had gained popularity in the United States, evolving into simpler versions suited for home kitchens. With the advent of commercial refrigeration in the 20th century, ice cream cakes became widely accessible, solidifying their place as a beloved dessert globally.
Today, ice cream cakes come in various flavors and styles, catering to diverse tastes and traditions while remaining a symbol of indulgence and celebration.
Ingredients for a Perfect Ice Cream Cake
Overview of Key Ingredients
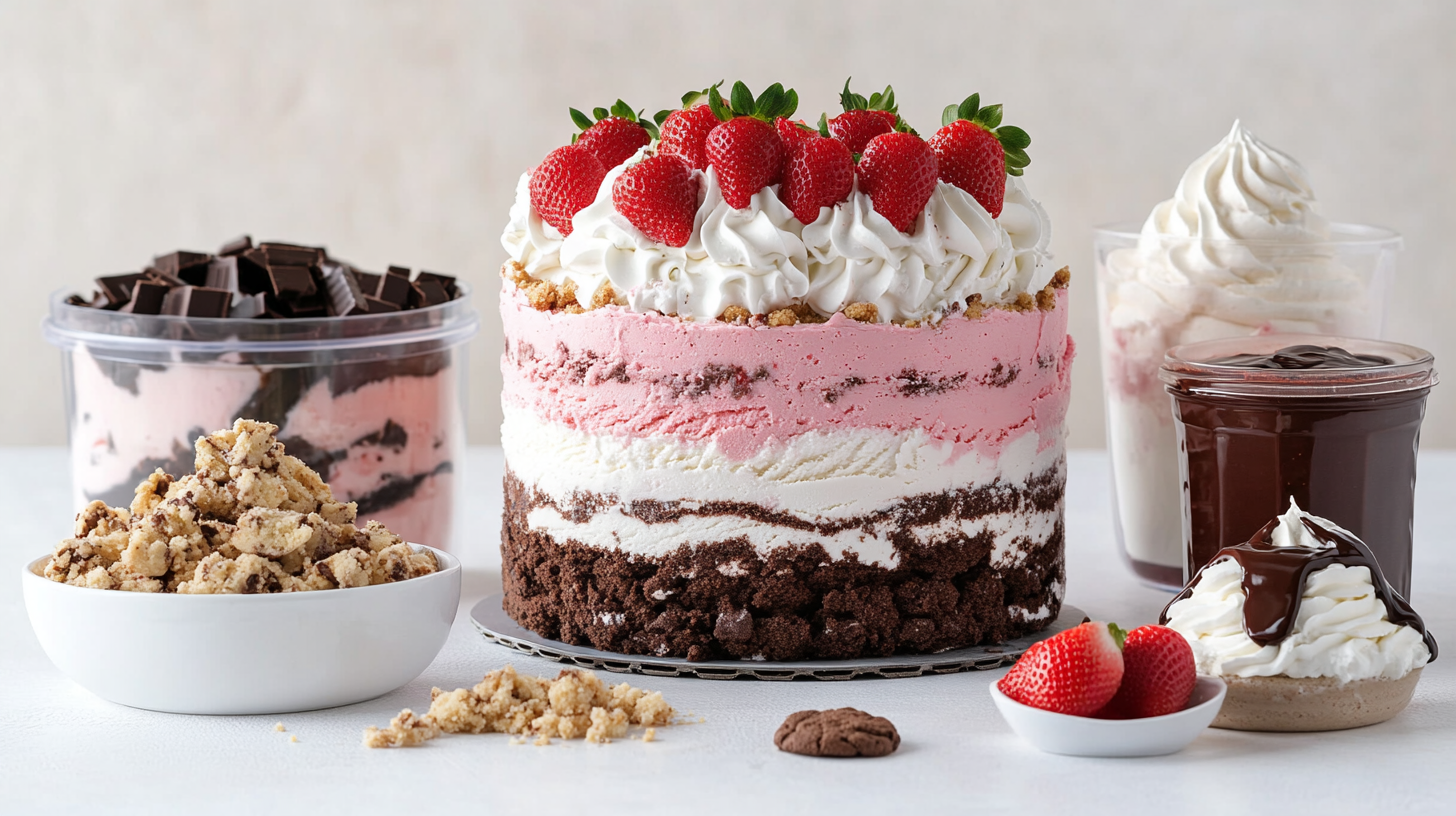
Creating the perfect ice cream cake requires a thoughtful selection of high-quality ingredients. Here’s a breakdown of what you’ll need:
- Ice Cream is the star of the cake, providing flavor, texture, and creaminess. Multiple flavors can be used for a layered effect.
- Cake Base: This is a foundation that complements the ice cream, adding a contrasting texture. Options include sponge cake, brownies, or cookie crusts.
- Binding Layers: Elements like caramel, chocolate ganache, fruit compote, or whipped cream are used between layers to add flavor and hold the structure together.
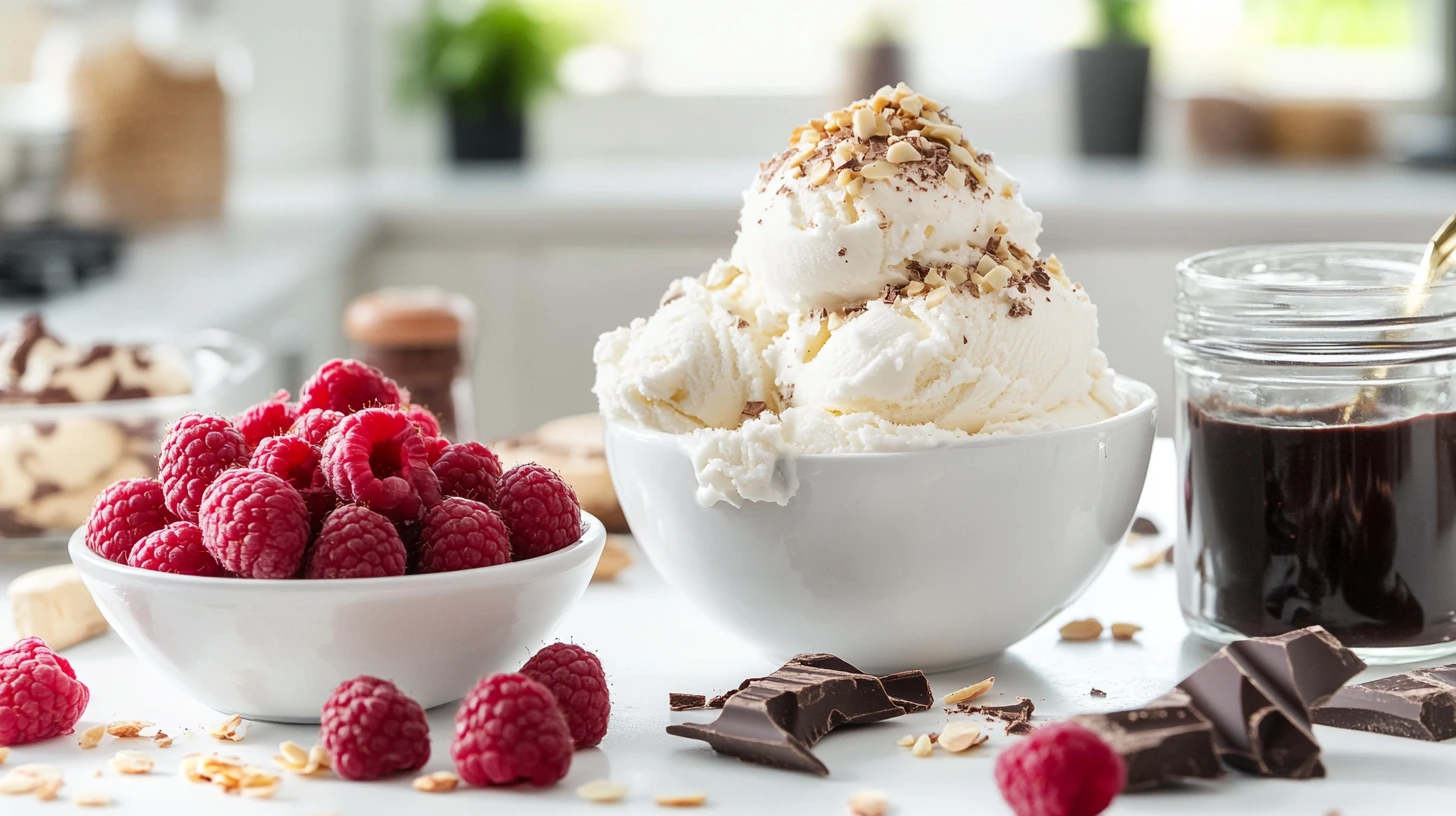
- Decorations: Whipped cream, frosting, sprinkles, nuts, fresh fruits, or chocolate shavings enhance the cake’s appearance and flavor.
Choosing the Best Ice Cream Flavors
The choice of ice cream flavors can make or break your ice cream cake. Here are some tips for picking the perfect ones:
- Classic Flavors: Vanilla, chocolate, and strawberry are timeless and universally loved.
- Thematic Flavors: Match flavors to your occasion, such as peppermint for Christmas or mango for a tropical summer vibe.
- Layered Variety: Combine contrasting flavors, such as chocolate fudge with mint or vanilla with fruit sorbet, to create a dynamic taste profile.
- Dietary Considerations: For vegan or lactose-intolerant guests, choose plant-based ice creams like coconut or almond milk.
Types of Cake Bases: Sponge Cake, Brownie, or Cookie Crust
The base you choose for your ice cream cake affects its texture and flavor. Here are the most popular options:
- Sponge Cake:
- Light and airy, it soaks up melted ice cream, creating a moist, cohesive dessert.
- It is ideal for those who prefer a traditional cake texture.
- Brownie:
- It is dense and fudgy and adds a rich, chocolaty flavor to your ice cream cake.
- Perfect for chocolate lovers and decadent celebrations.
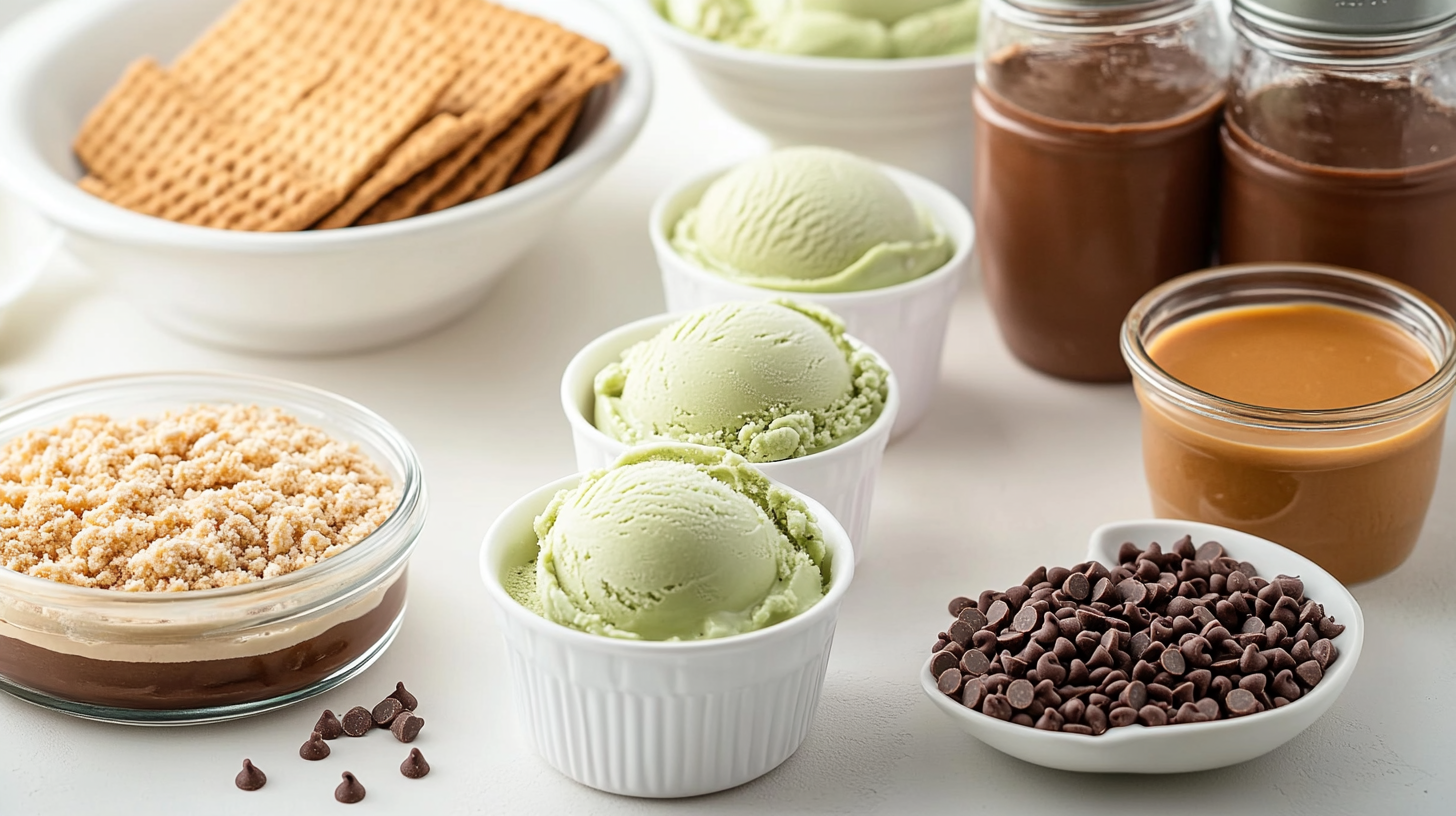
- Cookie Crust:
- This no-bake option is quick, crunchy, and versatile. It is made from crushed cookies (like Oreos or graham crackers) mixed with butter.
- Great for layering with multiple ice cream flavors.
Step-by-Step Guide to Making an Ice Cream Cake
Preparing the Cake Base
- Choose Your Base: Select between sponge cake, brownie, or cookie crust based on your preference.
- For sponge cake: Bake a thin layer in a round or rectangular pan and let it cool completely.
- For brownie: Use a dense, fudgy recipe to create a sturdy base.
- For cookie crust: Crush cookies (e.g., Oreos or graham crackers) into fine crumbs, mix with melted butter, and press into the bottom of your pan to form a firm crust.
- Line the Pan: Line your springform pan or cake tin with parchment paper or plastic wrap. This will make it easier to remove the finished cake.
- Chill the Base: Set the prepared base in the freezer for 15–30 minutes.
Layering Ice Cream and Fillings
- Soften the Ice Cream: Leave the ice cream at room temperature for about 10 minutes until it’s spreadable but not melted. This ensures smooth layering.
- Create the First Ice Cream Layer:
- Spread a thick, even layer of softened ice cream over the base.
- Smooth the top with a spatula or the back of a spoon.
- Add a Filling Layer:
- You can add your choice of fillings, such as caramel, chocolate ganache, crushed cookies, or fruit compote, on top of the ice cream layer.
- Repeat Layers:
- Continue alternating layers of ice cream and fillings until you reach the desired height. Typically, 2–3 layers work well.
- Freeze Between Layers:
- Freeze the cake for 20–30 minutes between layers to prevent them from mixing.
- Final Freeze:
- Once all layers are complete, freeze the entire cake for at least 4 hours (or overnight) to ensure it’s firm and holds its shape.
Adding Frosting and Decorative Touches
- Prepare the Frosting:
- Use whipped cream or stabilized frosting, as these spread quickly and hold up well in the freezer.
- For a smooth finish, ensure the frosting is cold but not frozen.
- Frost the Cake:
- Remove the cake from the freezer and apply a thin crumb coat (a light layer of frosting to trap crumbs).
- Freeze for 10–15 minutes, then add a thicker layer of frosting.
- Decorate:
- Add decorative touches like sprinkles, chocolate shavings, fresh fruits, or piped whipped cream.
- For a professional look, drizzle chocolate or caramel sauce over the top.
- Final Chill:
- Freeze the decorated cake for 1–2 hours before serving to set the frosting and decorations.
Serving Tips
- Remove the cake from the freezer 5–10 minutes before serving to make cutting easier.
- Use a sharp knife dipped in hot water for clean slices.
Customizing Your Ice Cream Cake
Adding Mix-Ins and Flavor Combinations
Elevate your ice cream cake by incorporating creative mix-ins and flavor pairings. Here are some ideas to inspire you:
- Crunchy Additions: For added texture, mix crushed cookies, chocolate chips, nuts, or candy pieces into the ice cream layers.
- Fruity Twists: Swirl in fruit compotes, jams, or fresh fruit chunks like berries or mango.
- Decadent Extras: For indulgent flavors, layer caramel, fudge, peanut butter, or cookie dough between ice cream layers.
- Themed Combinations:
- Tropical Paradise: Coconut ice cream, pineapple chunks, and a graham cracker crust.
- Mint Chocolate Delight: Mint ice cream, chocolate ganache, and a brownie base.
- Berry Bliss: Strawberry and blueberry ice creams layered with sponge cake and fresh berries.
Alternative Bases: Gluten-Free, Vegan, or Keto Options
Cater to dietary preferences or restrictions with these alternative base ideas:
- Gluten-Free Bases:
- Use gluten-free sponge cake or brownies made with almond or coconut flour.
- Opt for a gluten-free cookie crust using certified GF cookies.
- Vegan Bases:
- For a plant-based option, use dairy-free ice creams made from almond, soy, or coconut milk.
- Pair with a vegan brownie base or a cookie crust with vegan cookies and coconut oil.
- Keto-Friendly Bases:
- Use a keto-friendly almond or coconut flour cake or brownie.
- Create a crust with crushed keto cookies or nuts mixed with melted butter.
Incorporating Seasonal Ingredients
Take advantage of fresh, seasonal ingredients to create a cake that reflects the flavors of the season:
- Spring:
- Use strawberry, lemon, or lavender ice cream.
- Add fresh strawberries, edible flowers, or lemon zest as toppings.
- Summer:
- Feature tropical flavors like mango, coconut, or passion fruit.
- Decorate with fresh berries, pineapple slices, or a drizzle of honey.
- Fall:
- Opt for flavors like pumpkin spice, salted caramel, or apple cinnamon.
- Top with caramelized nuts, dried cranberries, or crushed gingerbread cookies.
- Winter:
- Use peppermint, chocolate fudge, or eggnog ice cream.
- Add festive decorations like crushed candy canes, chocolate shards, or edible gold dust.
Personalizing Your Ice Cream Cake
- Match the colors and flavors to the occasion (e.g., red and pink for Valentine’s Day, green for St. Patrick’s Day).
- Use custom molds or pans to shape your cake into fun designs like hearts, stars, or numbers.
- Incorporate a hidden surprise layer, like sprinkles or a secret message, for a memorable twist.
Storage and Serving Suggestions
Proper Freezing Techniques
- Use the Right Pan:
- Opt for a springform pan or a freezer-safe dish to remove the ice cream cake without damage easily.
- Layer with Care:
- Freeze each layer for 20–30 minutes before adding the next to ensure the cake maintains its structure and doesn’t melt during assembly.
- Cover for Freshness:
- Once the cake is assembled, wrap it tightly with plastic wrap or aluminum foil to prevent freezer burn. Place the wrapped cake in an airtight container for added protection.
- Freezing Time:
- Allow the cake to freeze for at least 4–6 hours or overnight to achieve a firm, sliceable consistency.
How to Slice and Serve an Ice Cream Cake Neatly
- Preparation Before Serving:
- Remove the cake from the freezer and let it sit at room temperature for 5–10 minutes. This softens the edges slightly, making it easier to cut.
- Use a Hot Knife:
- Dip a sharp knife into hot water, then dry it before slicing. Repeat this process for each cut to ensure clean, smooth slices.
- Serve Quickly:
- After slicing, serve the cake immediately to prevent melting. If you’re serving a large group, keep the remaining cake in the freezer between servings.
- Plate Presentation:
- Use chilled dessert plates to keep the slices cold longer. For an elegant touch, garnish each slice with a drizzle of chocolate sauce, whipped cream, or fresh fruit.
Best Practices for Storing Leftovers
- Re-Wrap Carefully:
- Re-wrap any leftover cake tightly with plastic wrap or aluminum foil. If the cake has been sliced, cover the exposed parts with parchment paper or plastic wrap to prevent freezer burn.
- Store in an Airtight Container:
- Place the wrapped leftovers in a freezer-safe, airtight container to lock in freshness and prevent the cake from absorbing other freezer odors.
- Label and Date:
- Label the container with the storage date. Ice cream cakes can typically be stored in the freezer for up to 1–2 weeks for optimal taste and texture.
- Avoid Refreezing Melted Cake:
- If the cake has melted significantly, avoid refreezing, as it can result in an icy texture. Instead, enjoy the melted portions as a sundae!
Healthier Alternatives to Traditional Ice Cream Cake
Low-Sugar Options
- Choose Low-Sugar Ice Cream:
- Opt for ice creams labeled “no added sugar” or “reduced sugar.”
- Look for varieties sweetened with natural alternatives like stevia, erythritol, or monk fruit.
- Use Fresh Fruits:
- Incorporate layers of fresh fruits such as berries, mangoes, or bananas for natural sweetness.
- Create a fruit compote as a filling instead of caramel or chocolate syrup.
- Go for a Lighter Base:
- Swap out traditional brownie or cookie bases for low-sugar sponge cakes or nut-based crusts sweetened with honey or dates.
- Limit Sweet Toppings:
- Use a drizzle of dark chocolate or unsweetened cocoa powder instead of sugary decorations like sprinkles or frosting.
Plant-Based Ice Cream Cakes
- Use Dairy-Free Ice Cream:
- Opt for ice creams made with almond, soy, oat, or coconut milk. Many plant-based options are naturally lower in fat and calories.
- For a unique twist, experiment with flavors like matcha, avocado, or mango.
- Plant-Based Bases:
- Use vegan brownie recipes or a crust made from crushed nuts and dates.
- Try a base made with almond flour or coconut flour for a grain-free option.
- Natural Fillings:
- You can replace heavy ganache or frosting with layers of blended frozen fruits (like a banana “nice cream” layer) or chia seed pudding.
- Healthy Toppings:
- Decorate with unsweetened coconut flakes, chopped nuts, or fresh fruits instead of sugary options.
Portion Control Strategies
- Use Smaller Molds:
- Make individual servings using ramekins, muffin tins, or small silicone molds. This helps control portions and reduces the temptation to overindulge.
- Pre-Cut Slices:
- After assembling and freezing the cake, cut it into appropriately sized portions before serving. Store the slices separately for easier portion control.
- Focus on Presentation:
- Serve smaller slices on decorative plates with a drizzle of sauce or a garnish like a mint leaf or berry. Visual appeal often satisfies cravings as much as portion size.
- Serve with Healthier Accompaniments:
- Pair a small slice of ice cream cake with fresh fruit or a scoop of sorbet to add volume and balance the indulgence.
FAQ About Ice Cream Cake
How Long Does It Take to Freeze an Ice Cream Cake?
- Initial Freezing: After assembling the layers, the ice cream cake needs at least 4–6 hours to freeze completely. Overnight freezing is ideal for a firm structure and easy slicing.
- Between Layers: If you’re layering ice cream and fillings, freeze each layer for 20–30 minutes before adding the next to ensure stability.
- Quick Tips: Use a freezer set to the coldest setting for faster freezing, and ensure the cake is placed on a flat surface for even chilling.
What Is the Frosting on Ice Cream Cake Made Of?
- Whipped Cream: The most common frosting is lightly sweetened whipped cream because it freezes well and complements the ice cream’s texture.
- Stabilized Whipped Cream: To improve the holding power of the frosting, use gelatin, cream cheese, or powdered sugar as stabilizers.
- Alternative Frostings:
- Buttercream: Rarely used but can be applied if kept thin and appropriately chilled.
- Ganache: A thin chocolate ganache layer provides a glossy, indulgent finish.
- Vegan Options: Use coconut whipped cream or plant-based frosting for dairy-free cakes.
What’s the Best Way to Transport an Ice Cream Cake?
- Keep It Frozen:
- Transport the cake in a well-insulated cooler or ice chest filled with ice packs or dry ice. This helps maintain a consistent cold temperature.
- Protect the Cake:
- Wrap the cake securely in plastic wrap or foil and place it in a sturdy box to prevent movement and damage during transit.
- Minimize Travel Time:
- Transport the cake as close to serving time as possible to reduce the risk of melting. If there are delays, store the cake in a freezer upon arrival.
- Use an Insulated Bag:
- An insulated grocery bag with frozen gel packs can suffice for short trips.
Conclusion
Creating an ice cream cake is a delightful journey that combines creativity, flavor, and a touch of artistry. Whether you’re a beginner or a seasoned baker, the versatility of ice cream cakes allows you to tailor them to any occasion, dietary preference, or personal taste. By following simple techniques, experimenting with flavors and textures, and adding your unique flair, you can craft a dessert that satisfies the palate and becomes a centerpiece of celebration.
Remember, the key to a perfect ice cream cake is planning, using quality ingredients, and, most importantly, enjoying the process. From classic combinations to innovative twists, the possibilities are endless. So, gather your tools, let your imagination run wild, and create a masterpiece that’s as fun to make as it is to eat. Happy baking!
Try this recipe tonight and tag us @biscsweet on social media and follow us on Facebook.