Cake Pop Recipe. If there’s one treat that always takes me back to carefree summer afternoons at my grandma’s kitchen, it’s cake pops. My Nonna wasn’t American, but she was a wizard at blending cultures, and cake pops were her summer specialty when we visited cousins in the States. She believed desserts should be playful, shareable, and just sweet enough to make your eyes twinkle—these cake pops capture all of that.
Whether you’re planning a picnic, a backyard gathering, or simply want a fun baking project with the kids, this Cake Pop Recipe delivers delicious results with minimal fuss. Plus, with classic vanilla and chocolate flavors, there’s a little something for everyone.
Why You’ll Love This Cake Pop Recipe
- Perfect for summer parties and birthdays
- Easy to customize with different coatings and sprinkles
- Bite-sized treats that are fun to eat and even more fun to make
- A sweet blend of moist cake and creamy frosting, coated in a crisp shell
Table of Contents
Ingredients
This recipe makes around 16–20 cake pops, perfect for 4 servings of indulgence.
For the Cake (You can use boxed cake mix or homemade)
Vanilla Cake:
- 1 cup all-purpose flour
- 1/2 cup sugar
- 1/2 tsp baking powder
- 1/4 tsp baking soda
- Pinch of salt
- 1/2 cup buttermilk
- 1/4 cup unsalted butter, softened
- 1 egg
- 1 tsp vanilla extract
Chocolate Cake:
- 1 cup all-purpose flour
- 1/2 cup unsweetened cocoa powder
- 1/2 cup sugar
- 1/2 tsp baking powder
- 1/4 tsp salt
- 1/2 cup buttermilk
- 1/4 cup vegetable oil
- 1 egg
- 1/2 tsp vanilla extract
For the Frosting
- 1/4 cup unsalted butter, softened
- 1 cup powdered sugar
- 1–2 tbsp milk
- 1/2 tsp vanilla extract
For the Coating
- 1 cup white chocolate or candy melts (for vanilla)
- 1 cup milk or dark chocolate melts (for chocolate)
- Sprinkles or crushed nuts (optional)
Instructions
Step 1: Bake the Cake
You can either make the cakes from scratch (see ingredients above) or use boxed mixes. Bake them according to the recipe and let cool completely.
Step 2: Make the Frosting
In a bowl, beat butter until smooth. Add powdered sugar gradually, then mix in vanilla and milk until creamy but thick.
Step 3: Crumble the Cake
Once cakes are cool, crumble them into fine pieces using your hands or a fork. Keep the vanilla and chocolate cakes in separate bowls.
Step 4: Mix Cake with Frosting
Add a spoonful of frosting at a time to each bowl of crumbled cake. Mix until the texture feels like playdough—it should hold together easily when squeezed.
Step 5: Roll into Balls
Scoop small portions and roll them into 1-inch balls. Place them on a baking sheet lined with parchment paper. Chill in the fridge for at least 1 hour.
Step 6: Insert Sticks
Dip the tip of each lollipop stick into melted chocolate, then insert halfway into the chilled cake balls. This helps them stay secure. Freeze for 15 minutes to set.
Step 7: Dip and Decorate
Melt your candy coating. Working one at a time, dip each cake pop into the coating, turning to coat evenly. Gently tap off excess. Add sprinkles or toppings quickly before the coating sets.
Step 8: Let Set
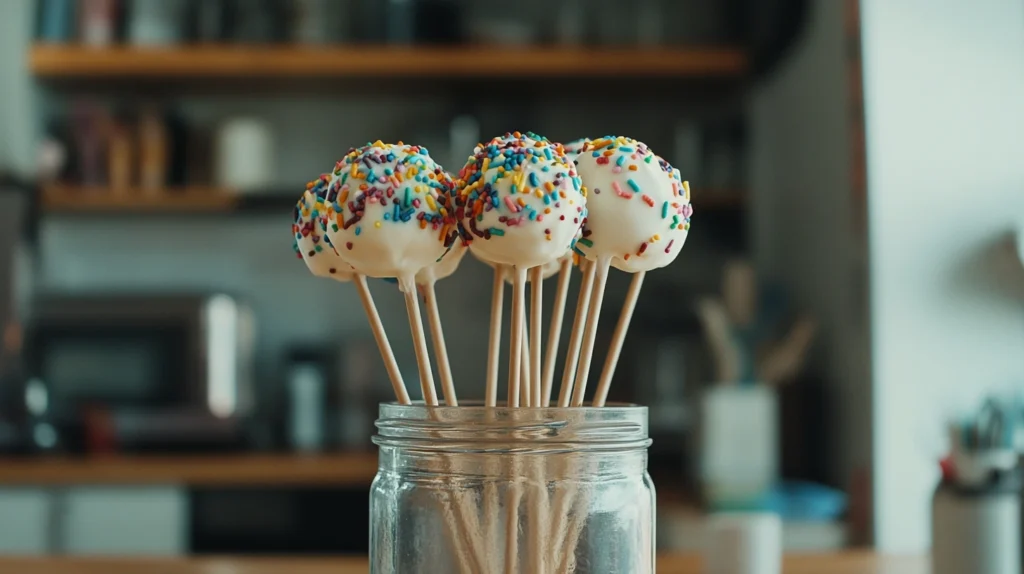
Stick cake pops upright into a foam block or a glass filled with rice to dry. Once hardened, they’re ready to enjoy or wrap as gifts!
Flavor Variations
- Strawberry Cream: Use strawberry cake with cream cheese frosting and white chocolate coating.
- Cookies and Cream: Use chocolate cake with crushed Oreo in the frosting.
- Lemon Zest: Add lemon zest to vanilla cake and coat with lemon glaze.
Tips for the Best Cake Pops
- Don’t overmix the frosting—too much and your cake pops will be mushy.
- Always chill before dipping—this keeps them from falling apart.
- Use high-quality chocolate or candy melts for the smoothest finish.
- Let kids help with decorating—it’s half the fun!
Storage & Make-Ahead
Cake pops can be stored in an airtight container at room temperature for 2–3 days or in the fridge for up to a week. You can also freeze them for up to a month—just thaw at room temp before serving.
A Sweet Summer Treat
Cake pops bring smiles—whether you’re enjoying them at a picnic table or giving them as party favors. With this easy, foolproof Cake Pop Recipe, you can create bakery-worthy pops at home, combining the best of classic vanilla and chocolate.
So grab your sprinkles, roll up your sleeves, and let’s get popping!
Reader Interaction
Have you tried this Cake Pop Recipe? I’d love to hear how you made it your own! Did you go all-in on sprinkles, or maybe used a fun flavor twist? Share your photos and stories in the comments below!