
Introduction to Mini Cheesecakes
Mini cheesecakes are delightful, individual-sized versions of the classic dessert. They offer a traditional cheesecake’s creamy, tangy goodness in a smaller, more convenient package. Perfectly portioned and versatile, mini cheesecakes have become popular for home bakers and dessert lovers.
What Are Mini Cheesecakes?
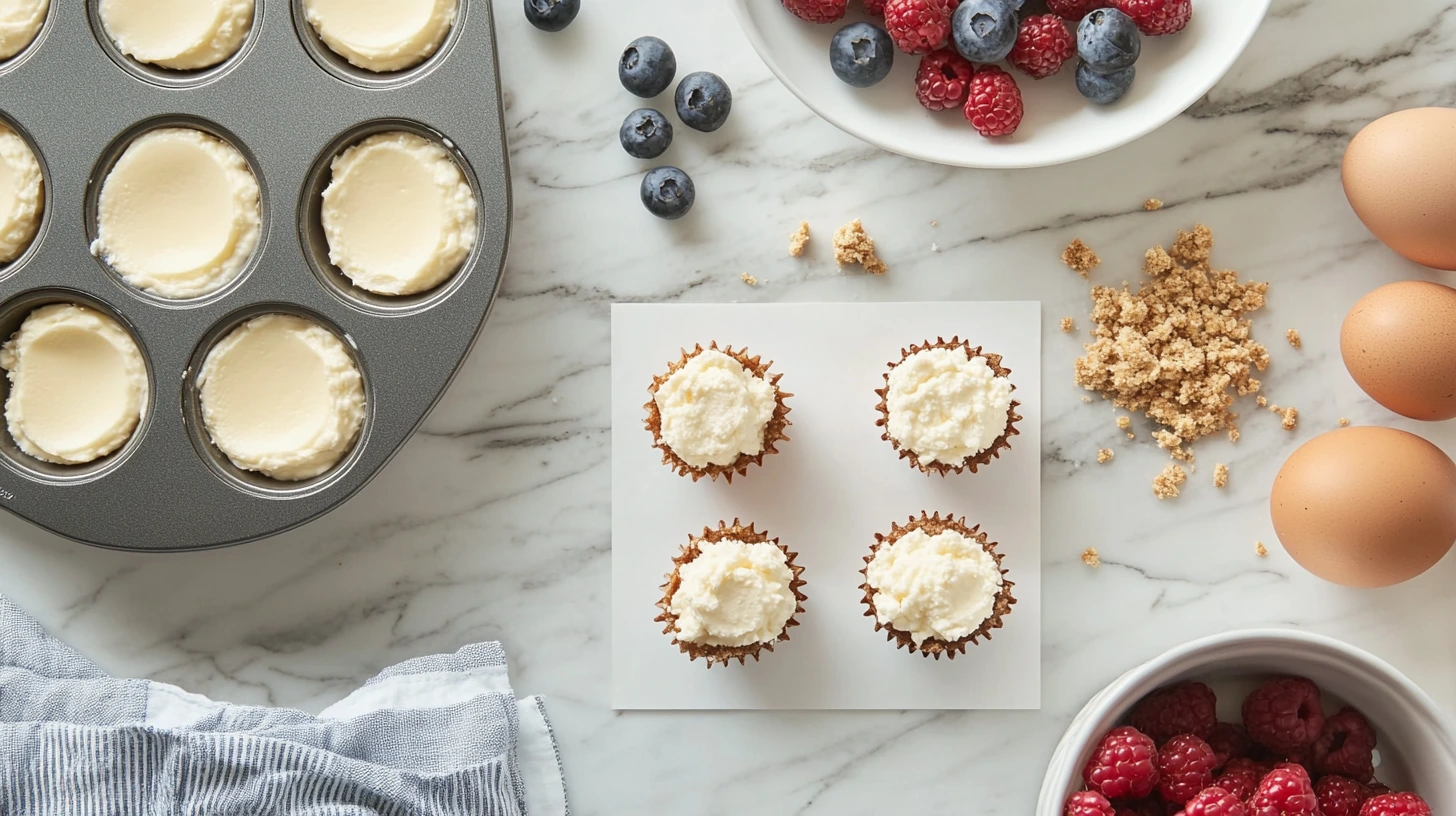
Mini cheesecakes are miniature, single-serving cheesecakes typically baked in muffin tins or specialty molds. They consist of the same essential components as a full-sized cheesecake: a crumbly crust, a smooth and creamy cheese-based filling, and sometimes a topping such as fruit, whipped cream, or chocolate. They’re easy to customize with different flavors and toppings, making them a fun and creative dessert option.
Benefits of Baking Mini Cheesecakes
Baking mini cheesecakes offers several advantages over traditional full-sized cheesecakes:
- Portion Control: Mini cheesecakes are pre-portioned, making them convenient for managing serving sizes.
- Faster Baking Time: Due to their smaller size, mini cheesecakes bake and set more quickly than large cheesecakes.
- Customizable: You can make multiple flavors in a single batch, catering to diverse tastes and dietary preferences.
- Easy to Serve: Unlike full-sized cheesecakes, mini cheesecakes don’t require slicing, making them neat and hassle-free.
- Great for Beginners: The smaller size makes them less prone to common cheesecake issues like cracking.
Popular Occasions for Mini Cheesecakes
Mini cheesecakes are a versatile dessert, perfect for various events and celebrations:
- Weddings and Bridal Showers: Their elegant appearance makes them a sophisticated choice for formal occasions.
- Birthday Parties: Mini cheesecakes are a crowd-pleaser for guests of all ages.
- Holiday Gatherings: Add festive flavors like pumpkin spice, peppermint, or eggnog to suit the holiday season.
- Corporate Events: Convenient and mess-free, they’re ideal for professional settings.
- Everyday Treats: Mini cheesecakes add a special touch to any meal, whether for a family dinner or a casual get-together.
Essential Tools and Ingredients
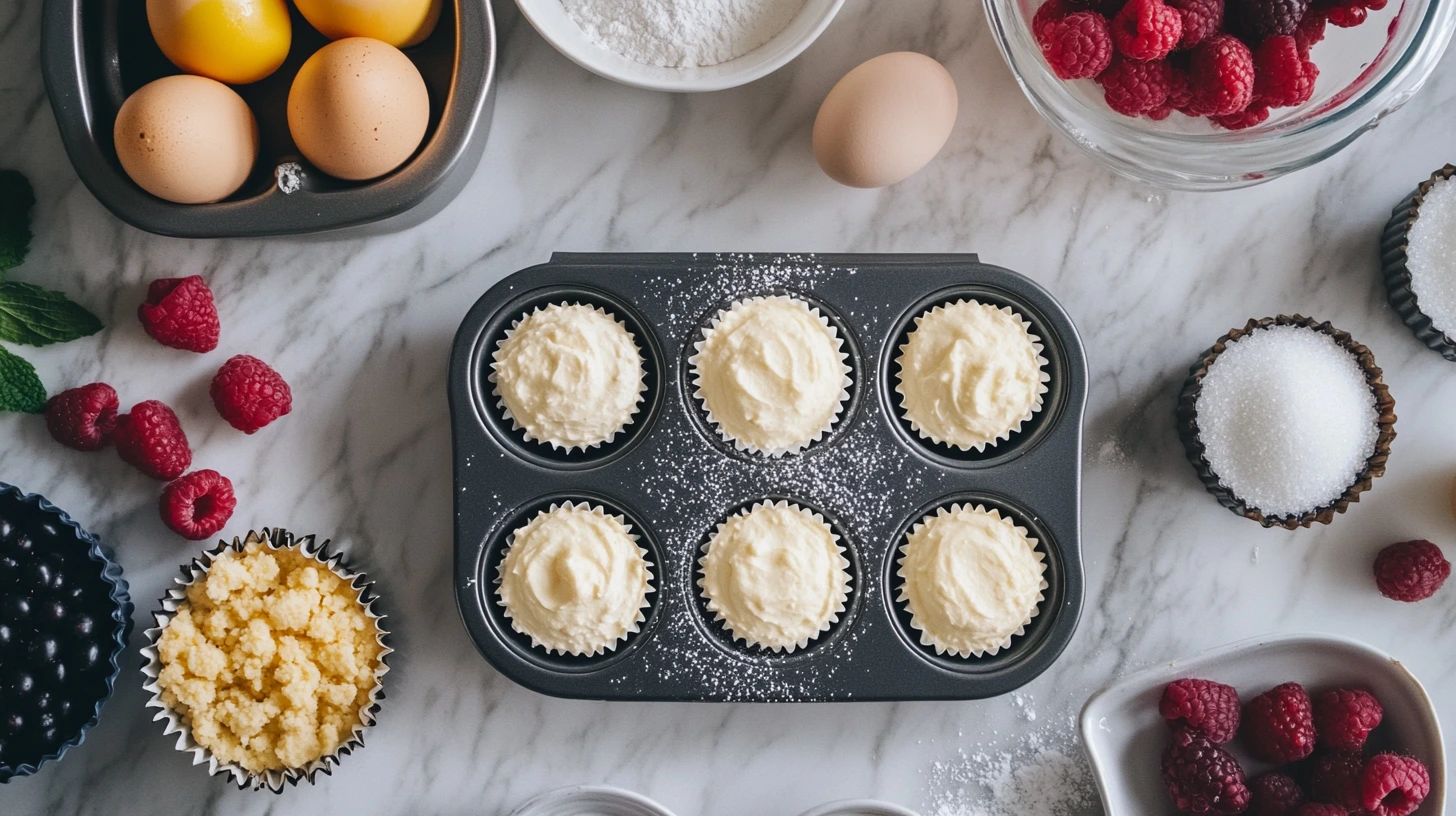
Having the right tools is essential for creating flawless mini cheesecakes. A muffin tin or a mini cheesecake pan works best for crafting these little delights. Combine cream cheese, sugar, eggs, and a splash of vanilla extract to make a luscious batter. For the crust, graham crackers or crushed cookies are classic choices.
For further inspiration on using unique ingredients, check out unique cookie recipes that can serve as a flavorful crust alternative.
Tools Needed for Baking Mini Cheesecakes
To create perfectly baked mini cheesecakes, you’ll need the following essential tools:
- Muffin Tin or Mini Cheesecake Pan: A muffin tin lined with paper or silicone liners is a classic choice. Alternatively, use a mini cheesecake pan with removable bottoms for easier release.
- Mixing Bowls: A few bowls in different sizes are used to prepare the crust and batter.
- Electric Mixer or Stand Mixer: These are ideal for blending the cream cheese and other ingredients into a smooth, creamy batter.
- Measuring Cups and Spoons: Accurate measurements are key to the perfect texture.
- Rubber Spatula: Helps scrape down the sides of the mixing bowl to ensure everything is evenly incorporated.
- Food Processor: Useful for crushing cookies or graham crackers for the crust.
- Ice Cream Scoop or Spoon: This makes it easy to portion the crust and batter evenly into the cups.
- Cooling Rack: Allows the mini cheesecakes to cool evenly after baking.
- Baking Sheet: Placing the muffin tin on a baking sheet makes handling easier and provides added stability.
- Optional Tools: Piping bags for decorating, zesters for citrus flavors, or a water bath setup for even baking (if needed).
Perfecting the Baking Process
Achieving the perfect texture involves careful attention to detail. Bake until the edges are set, and the center is slightly jiggly. For a smoother experience, avoid cracking by baking gently, much like the tips in this guide on how to make the perfect cake pop recipe.
If you’re looking for more baking challenges, why not try crafting something new, like a decadent chocolate cheesecake?
Common Ingredients Used
Mini cheesecakes use simple, accessible ingredients, many of which you may already have in your kitchen:
- Crust Ingredients:
- Graham crackers, digestive biscuits, or cookies (like Oreos)
- Melted butter
- Optional: Sugar or spices (like cinnamon) for added flavor
- Filling Ingredients:
- Cream Cheese: The star ingredient, providing a rich and creamy texture.
- Sugar: Adds sweetness to balance the tanginess of the cream cheese.
- Eggs: Binds the ingredients together and helps the cheesecake set.
- Vanilla Extract: Enhances the overall flavor.
- Sour Cream or Heavy Cream: Adds creaminess and smoothness to the batter.
- Toppings and Additions:
- Fresh fruits, chocolate chips, caramel drizzle, or crushed candies.
- Flavorings like lemon zest, cocoa powder, or fruit puree.
Choosing the Right Cheesecake Batter
Selecting or preparing the proper batter is crucial for mini cheesecakes. Keep these tips in mind:
- Smooth Texture: The batter should be lump-free. Bring the cream cheese and eggs to room temperature before mixing to make blending easier.
- Flavor Variations: Add cocoa powder, purees, or spices to adjust the batter to create flavors like chocolate, pumpkin, or berry.
- Consistency: The batter should be thick but pourable. Overmixing can introduce air bubbles, leading to cracks, so mix until just combined.
- Dietary Preferences: Choose appropriate crust alternatives like almond flour or gluten-free cookies for gluten-free or keto options.
Preparing the Cheesecake Batter
Preparing the batter carefully is key to creating perfectly creamy and smooth mini cheesecakes. You can achieve a flawless result every time by using the proper techniques and avoiding common mistakes.
Mixing Techniques for a Smooth Batter
- Bring Ingredients to Room Temperature:
- Ensure cream cheese, eggs, and other refrigerated ingredients are at room temperature. This makes them easier to blend and prevents lumps in the batter.
- Use the Right Mixing Equipment:
- An electric or stand mixer works best for achieving a smooth and creamy texture. If mixing by hand, use a sturdy whisk to ensure thorough blending.
- Start with Cream Cheese:
- Beat the cream cheese first until it’s completely smooth and lump-free. This will set the foundation for a silky batter.
- Add Sugar Gradually:
- Slowly incorporate sugar into the cream cheese. Mix until thoroughly combined, ensuring the batter remains smooth.
- Mix in Wet Ingredients:
- Add eggs one at a time, mixing just until incorporated. Overmixing at this stage can introduce air bubbles, which may cause cracks during baking.
- Blend in sour or heavy cream for added richness, and finish with vanilla extract or other flavorings.
- Scrape down the Bowl:
- Periodically scrape the sides and bottom of the mixing bowl with a rubber spatula to ensure all ingredients are evenly mixed.
Avoiding Common Batter Mistakes
- Overmixing the Batter:
- Mixing too long can introduce excess air into the batter, leading to cracks or uneven texture in the baked cheesecakes. Mix on low to medium speed and stop when the ingredients are combined.
- Using Cold Ingredients:
- Cold cream cheese or eggs will result in a lumpy batter, making it difficult to achieve a smooth consistency.
- Skipping the Scraping Step:
- Failing to scrape down the bowl can leave unmixed pockets of ingredients, affecting the flavor and texture.
- Not Measuring Ingredients Accurately:
- Use proper measuring cups and spoons to ensure the right balance of ingredients. Too much sugar or liquid can alter the batter’s consistency.
- Ignoring Air Bubbles:
- Tap the mixing bowl gently on the countertop before portioning the batter to release any trapped air. This prevents bubbles from rising to the surface during baking.
Determining When Mini Cheesecakes Are Done
Knowing when your mini cheesecakes are perfectly baked is essential to achieving a creamy texture without overcooking. Here are some reliable methods to determine doneness and ensure the best results.
Visual Cues to Look For
- Edges Set, Center Slightly Glossy:
- The edges of the mini cheesecakes should appear set and slightly puffed. The center may look somewhat glossy, which is expected as it will firm up during cooling.
- No Cracks on the Surface:
- Ideally, the surface should be smooth and free of cracks. Overbaking can cause cracks, so watch the cheesecakes closely near the end of the baking time.
- Even Color:
- Look for a uniform, light golden color around the edges. Avoid browning the tops, as this can indicate overbaking.
Using a Thermometer: Internal Temperature Guidelines
For precise doneness, a kitchen thermometer can be an excellent tool:
- Temperature Target:
- Insert the thermometer into the center of a mini cheesecake. When fully baked, it should read between 150°F and 160°F (65°C to 71°C).
- Avoid Overchecking:
- Minimize the number of times you check the temperature to retain oven heat and prevent overbaking.
The Jiggle Test: How It Works
The jiggle test is a simple, non-invasive way to check for doneness:
- Gently Shake the Pan:
- With the oven mitts on, gently nudge the muffin tin or baking pan. Observe the cheesecakes’ movement.
- Look for a Slight Jiggle in the Center:
- A slight jiggle in the center of each mini cheesecake is a good sign—they will continue to set as they cool.
- If the entire cheesecake wobbles or the center looks very wet, it needs more baking time.
- Avoid Touching the Surface:
- Resist the temptation to touch the tops of the cheesecakes, as this can leave indentations.
Variations on the Classic Mini Cheesecake

Creative Flavor Variations
Mini cheesecakes are highly customizable. Swirl fruit purees, like raspberry or strawberry, into the batter for a tangy twist, or top with fresh fruit for an elegant touch. Chocolate lovers can indulge in chocolate-infused or a decadent, layered treat like a brownie cheesecake.
If you’re feeling festive, explore seasonal variations such as pumpkin spice or peppermint, similar to ideas in this pumpkin muffin recipe.
Flavor Innovations
- Chocolate Explosion:
- Add cocoa powder or melted chocolate to the batter for a rich chocolate base.
- Top with a swirl of chocolate ganache, chocolate chips, or grated chocolate.
- Fruit Swirls:
- Incorporate fruit purees such as raspberry, strawberry, or mango into the batter for a vibrant swirl effect.
- Garnish with fresh fruit or a matching fruit glaze.
- Nutty Delights:
- Add crushed nuts, such as pecans, almonds, or hazelnuts, into the crust for added texture.
- Swirl in nut butter like peanut butter or almond butter for a creamy, nutty flavor.
- Decadent Desserts:
- Turn your mini cheesecakes into luxurious desserts like tiramisu (with coffee and cocoa layers) or s’mores (graham cracker crust, chocolate filling, and toasted marshmallow topping).
- Spicy and Warm:
- Add a pinch of spices like cinnamon, nutmeg, or cardamom to the batter for a warm, comforting flavor profile.
- Pair with toppings like caramelized apples or spiced pears.
Incorporating Seasonal Ingredients
- Spring:
- Use fresh strawberries, rhubarb, or lemon for bright, zesty flavors.
- Garnish with edible flowers for a delicate, seasonal touch.
- Summer:
- Infuse with tropical flavors like pineapple, coconut, or passionfruit.
- Top with juicy summer berries or peach slices for a refreshing treat.
- Autumn:
- Add pumpkin puree and spices like cinnamon and ginger to create pumpkin spice cheesecakes.
- Use caramel and toasted pecans for a decadent fall-inspired dessert.
- Winter:
- Create festive flavors like peppermint with crushed candy canes or eggnog with nutmeg and rum extract.
- Incorporate cranberry or spiced orange compotes for a holiday twist.
Vegan and Gluten-Free Alternatives
- Vegan Mini Cheesecakes:
- For a creamy, dairy-free filling, replace cream cheese with soaked cashews blended with coconut cream, maple syrup, and lemon juice.
- Use a crust made from dates and nuts for a no-bake vegan option.
- Gluten-Free Crusts:
- Substitute graham crackers with gluten-free options or almond flour with melted butter or coconut oil.
- Try a crust made from crushed gluten-free cookies or granola.
- Dairy-Free Adaptations:
- Use plant-based cream cheese or silken tofu for the filling.
- Substitute heavy cream with coconut cream for a luscious, dairy-free alternative.
- Low-Sugar and Keto Options:
- Sweeten with natural alternatives like stevia or monk fruit.
- Use almond or coconut flour for a keto-friendly crust.
Adapting for Special Diets
Mini cheesecakes can easily be adapted to fit dietary needs. Substitute traditional crusts with gluten-free options like crushed almonds or oats. To create a healthier version, try a recipe similar to this healthy cheesecake recipe, which uses reduced sugar and lighter ingredients.
For those interested in gluten-free baking, pair the cheesecakes with elements from this gluten-free bread recipe for a satisfying combination.
FAQs: Your Cheesecake Questions Answered
Baking mini cheesecakes is rewarding, but it’s expected to encounter a few questions. Here are answers to some of the most common cheesecake concerns.
How Do I Know When Mini Cheesecakes Are Done?
You can tell mini cheesecakes are done by using these methods:
- Visual Cues: The edges should look set and slightly puffed, while the center should look slightly glossy.
- The Jiggle Test: Gently shake the pan. If the center jiggles somewhat like gelatin while the edges stay firm, it’s ready.
- Temperature Check: Use a kitchen thermometer to check the center. The internal temperature should be 150°F to 160°F (65°C to 71°C).
Can I Make Mini Cheesecakes Without a Water Bath?
Yes, mini cheesecakes can often be baked without a water bath due to their small size, which makes even baking easier. To prevent cracks without a water bath:
- Use a low oven temperature to bake the cheesecakes gently.
- Avoid overmixing the batter to reduce air bubbles.
- Let the cheesecakes cool gradually by turning off the oven and leaving the door slightly ajar.
How Long Do Mini Cheesecakes Need to Cool?
Mini cheesecakes need to cool in stages for the best texture:
- In the Pan: After removing them from the oven, let them cool in the pan for 10-15 minutes.
- On a Cooling Rack: Transfer the cheesecakes to a wire rack to cool completely at room temperature, which usually takes 30-60 minutes.
- In the Refrigerator: Chill them to fully set for at least 2 hours (preferably overnight).
Why Are My Mini Cheesecakes Sinking in the Middle?
A few issues can cause sinking cheesecakes:
- Overmixing the Batter: Incorporating too much air can cause the cheesecakes to rise and collapse as they cool.
- Overbaking: Baking too long can prevent the filling from drying and sink.
- Rapid Cooling: Sudden temperature changes can make the center collapse. Allow gradual cooling to avoid this.
What Can I Use Instead of a Muffin Tin?
If you don’t have a muffin tin, you can try these alternatives:
- Mini Cheesecake Pans: These pans have removable bottoms for easy release.
- Ramekins: Use small ramekins for individual cheesecakes, adjusting the baking time as needed.
- Silicone Molds: Flexible silicone molds make it easy to pop out the cheesecakes once cooled.
- Sheet Pan: Create a cheesecake “bark” by spreading batter on a sheet pan lined with parchment paper, then cutting it into squares after baking.
How Do I Prevent My Cheesecakes from Sticking to the Pan?
To avoid sticking:
- Use Liners: Paper or silicone cupcake liners are an easy way to prevent sticking.
- Grease the Pan: Lightly grease the pan or spray with non-stick cooking spray.
- Cool Completely: Ensure the cheesecakes are thoroughly cooled and chilled before removing them.
- Run a Knife Around the Edges: For pans without liners, gently run a thin knife or spatula around the edges to loosen the cheesecakes.
Conclusion
Mini cheesecakes are an excellent way to showcase your creativity and love for baking. Whether you’re experimenting with flavors, incorporating seasonayou’reedients, or tailoring recipes to dietary needs, these bite-sized desserts are sure to impress. Dive into the world of mini cheesecakes and explore other exciting recipes on Biscsweet for more inspiration!
Recap of Key Points
- Tools and Ingredients: Having the right tools, such as a muffin tin or mini cheesecake pan, and fresh, high-quality ingredients ensures a smooth baking process.
- Preparation Tips: A smooth batter, proper mixing techniques, and careful attention to baking and cooling times are essential for perfect results.
- Creative Variations: Explore flavor innovations, seasonal ingredients, and dietary adaptations like vegan or gluten-free options to cater to every palate.
- Troubleshooting: Simple adjustments and careful handling can avoid common issues like cracking, sinking, or sticking.
Encouragement to Experiment and Enjoy Baking
Mini cheesecakes offer endless opportunities for experimentation and personalization. You can use new flavors, toppings, and crusts to create unique variations for any occasion. Whether you’re baking for a special event, gifting them to Don’t One, or simply indulging yourself, each mini cheesecake is a bite-sized piece of joy.
Don’t be afraid to make mistakes—it’s all part of the learning process. With practice and creativity, you’ll soon be crafting mini cheesecakes that look and taste like they came from a professional bakery. So grab your tools, gather your ingredients, and enjoy the wonderful adventure of baking!