Table of Contents
Introduction to Gluten-Free Bread
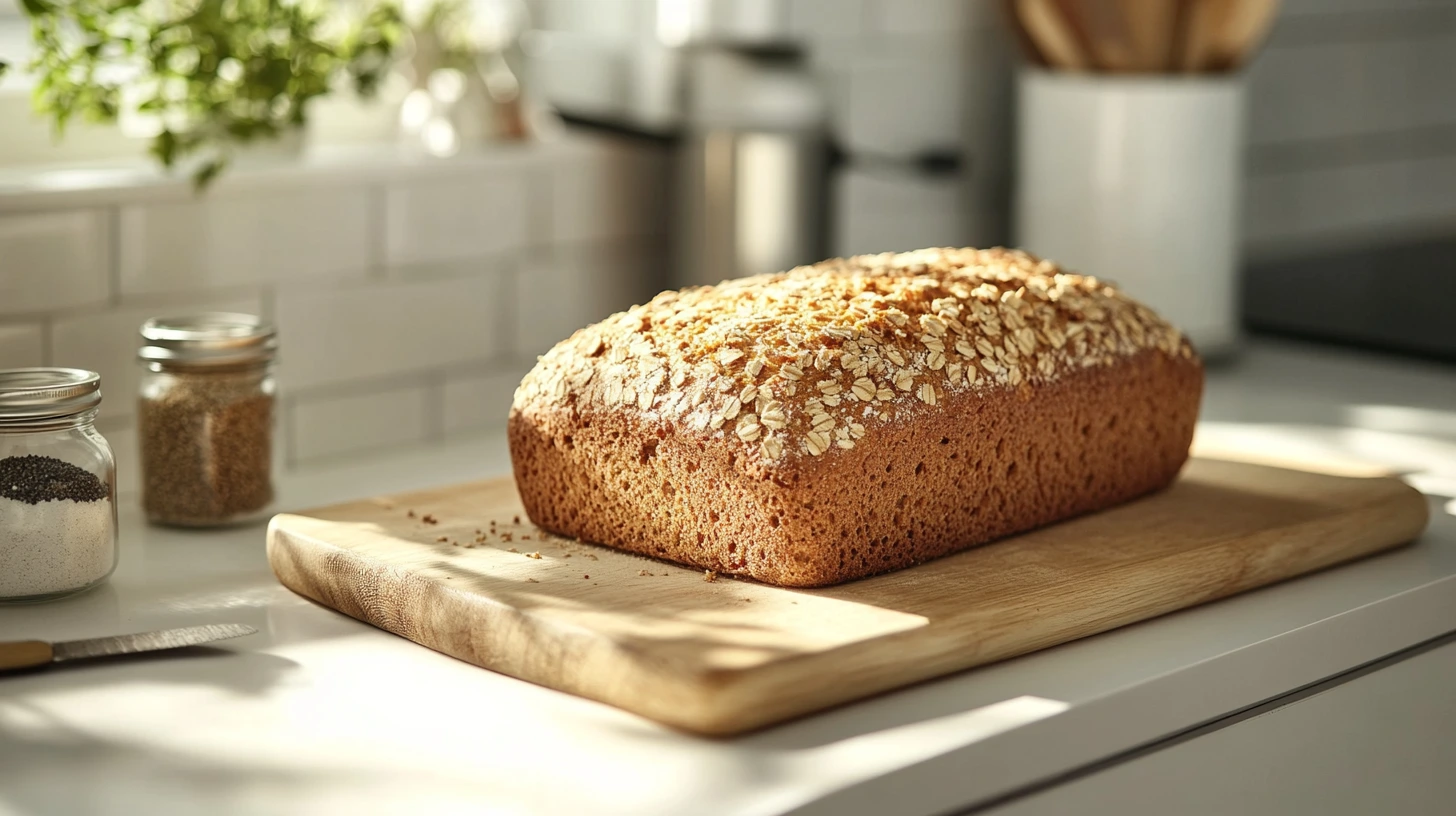
Gluten-free bread recipe offers a delicious and inclusive alternative for those with gluten intolerance, celiac disease, or dietary preferences. Baking gluten-free bread at home allows you to enjoy a fresh, flavorful loaf without compromising texture or taste, and it ensures complete control over the ingredients used.
Unlike traditional bread, gluten-free bread requires unique techniques and ingredients to replicate the structure and elasticity of gluten. Key ingredients like xanthan gum, psyllium husk, or eggs act as binders to create a cohesive dough, while alternative flours such as rice flour, almond flour, or tapioca starch provide the base.
Homemade gluten-free bread is a game-changer for sandwiches, toast, or enjoying a warm butter slice. With some practice, you can achieve a soft, airy loaf that rivals its wheat-based counterparts, offering a satisfying solution for anyone seeking a gluten-free lifestyle.
Why Go Gluten-Free?
- Health Reasons:
- Gluten-free bread is essential for individuals with celiac disease, where gluten damages the small intestine.
- Those with non-celiac gluten sensitivity or wheat allergies may also benefit from avoiding gluten.
- Digestive Comfort:
- Many people find that eliminating gluten reduces bloating, indigestion, and other gastrointestinal issues.
- Dietary Preference:
- Some choose a gluten-free diet as part of a broader health-conscious lifestyle or to explore alternative grains and ingredients.
- Inclusive Eating:
- Gluten-free baking ensures that everyone can enjoy homemade bread and participate in shared meals regardless of dietary restrictions.
Common Challenges of Gluten-Free Baking
- Lack of Structure:
- Gluten is the protein that provides elasticity and structure to traditional bread dough. If not addressed, this lack of structure can lead to crumbly or dense bread in gluten-free baking.
- Moisture Balance:
- Gluten-free doughs are often wetter and stickier than traditional doughs, making them harder to shape and handle. Proper hydration is key to achieving a good texture.
- Special Ingredients:
- Gluten-free recipes often require additional ingredients like xanthan gum, guar gum, or psyllium husk to mimic the binding and elasticity of gluten.
- Dense Texture:
- Without gluten, bread can turn out overly dense or heavy. Using a mix of light flours (like rice flour) and starches (like tapioca or potato starch) helps achieve a softer, airier loaf.
- Short Shelf Life:
- Gluten-free bread tends to dry out quickly. Proper storage, such as freezing, is essential for preserving freshness.
- Trial and Error:
- Perfecting gluten-free bread often takes patience and experimentation, as ingredient blends and techniques vary widely.
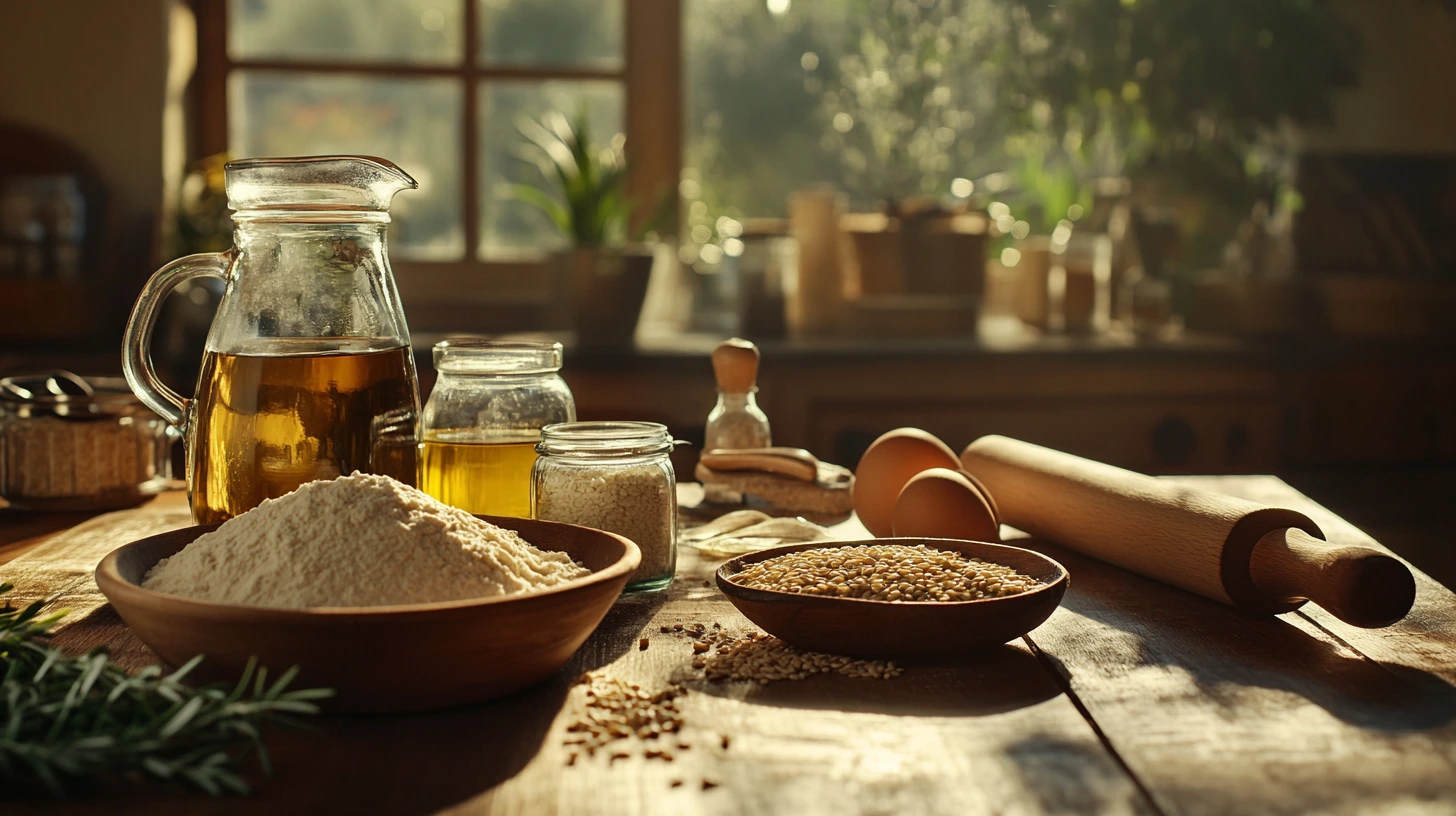
Key Ingredients for Gluten-Free Bread Recipe
- Gluten-Free Flours
Gluten-free bread relies on a mix of flours to balance flavor, structure, and texture. Common options include:
- Rice Flour: A mild, versatile base for many gluten-free recipes.
- Almond Flour: Adds a nutty flavor and moisture to the bread.
- Tapioca Starch: Contributes elasticity and chewiness.
- Potato Starch: Helps create a light, fluffy texture.
- Sorghum Flour: Imparts a hearty flavor and works well in multi-grain blends.
- Coconut Flour: Absorbs a lot of moisture, so use it sparingly as part of a mix.
- Binders and Structure Enhancers
These ingredients mimic the elasticity and binding properties of gluten:
- Xanthan Gum or Guar Gum: Essential for holding the dough together and providing structure.
- Psyllium Husk Powder: Adds elasticity and moisture, resulting in a soft crumb.
- Eggs or Flaxseed Gel: Act as natural binders and contribute to the bread’s texture and rise.
- Yeast or Leavening Agents
- Active Dry Yeast or Instant Yeast: Helps the bread rise and adds a traditional yeasty flavor.
- Baking Powder or Baking Soda: Often used in quick gluten-free bread recipes that don’t require yeast.
- Liquids
- Warm Water or Milk: Hydrates the dough and activates the yeast.
- Plant-Based Milk: Almond, soy, or oat milk can be used for dairy-free options.
- Fats and Moisturizers
- Butter, Oil, or Vegan Butter: Adds richness and prevents the bread from drying.
- Yogurt or Applesauce: Helps maintain moisture andness in the crumb.
- Sweeteners
- Sugar, Honey, or Maple Syrup: Feeds the yeast and enhances flavor.
Example Gluten-Free Flour Blend
To create a versatile gluten-free bread mix, combine:
- 2 cups (240g) rice flour
- 1 cup (120g) tapioca starch
- 1 cup (120g) potato starch
- One teaspoon of xanthan gum
Gluten-Free Flours: Rice, Almond, and More
Gluten-free bread relies on a blend of flours to replicate the structure and flavor of traditional bread. Each type of flour contributes unique qualities:
- Rice Flour:
- Mild flavor and delicate texture make it a staple in gluten-free baking.
- It works well as a base when combined with starches and other flours.
- Almond Flour:
- Adds a nutty flavor and moisture to the bread.
- High in protein and healthy fats, it enhances the nutritional value.
- It is best used in combination with other flours due to its density.
- Tapioca Starch:
- It provides elasticity and chewiness, mimicking the role of gluten.
- It helps create a softer crumb and contributes to browning.
- Potato Starch:
- Lightens the texture of gluten-free bread, making it fluffier.
- It is often used alongside tapioca starch for better structure.
- Sorghum Flour:
- It has a hearty flavor and adds protein and fiber.
- Works well in whole-grain gluten-free bread recipes.
- Coconut Flour:
- It is highly absorbent, so it requires more liquid in the recipe.
- It adds a subtle sweetness and works well in small amounts.
- Oat Flour:
- It provides a mild, nutty flavor and enhances texture.
- Ensure oats are certified gluten-free to avoid cross-contamination.
Choosing the Right Gluten-Free Flour Blend
Store-Bought vs. Homemade Blends
- Store-Bought Blends:
- Convenience: Pre-mixed gluten-free flour blends save time and effort.
- Balanced Ingredients: Most commercial blends contain a combination of flours, starches, and binders like xanthan gum or guar gum.
- Best For: General-purpose baking, especially if you’re new to gluten-free baking. Look for blends labeled “1-to-1” or “cup-for-cup” for easier substitution in traditional recipes.
- Popular Brands: Bob’s Red Mill, King Arthur, and Pamela’s are well-regarded for their consistency and versatility.
- Homemade Blends:
- Customization: Create blends tailored to your taste and dietary needs.
- Control Over Ingredients: Avoid allergens or additives found in some store-bought blends.
- Best For: Experienced bakers or those experimenting with different flavors and textures.
- Example Blend: Combine 2 cups of rice flour, 1 cup of potato starch, 1 cup of tapioca starch, and one teaspoon of xanthan gum.
Best Combinations for Texture and Flavor
- Light and Fluffy Bread:
- Blend: 2 parts rice flour, 1 part tapioca starch, 1 part potato starch.
- Binder: Add one teaspoon of xanthan gum or one tablespoon of psyllium husk powder per cup of flour.
- Whole-Grain Texture:
- Blend: 1 part sorghum flour, 1 part oat flour, 1 part tapioca starch.
- Flavor Boost: Add a small amount of almond or coconut flour for richness.
- Soft and Moist Bread:
- Blend: 1 part almond flour, 1 part rice flour, 1 part tapioca starch.
- Liquid: Use milk or yogurt to enhance moisture retention.
- Nut-Free Option:
- Blend: 2 parts rice flour, 1 part potato starch, 1 part cornstarch.
- Binder: Use flaxseed gel for a nut-free, plant-based binder.
- Savory Bread:
- Blend: 1 part chickpea flour, 1 part rice flour, 1 part tapioca starch.
- Additions: Include herbs or garlic powder for extra flavor.
Tips for Success:
- Always sift your flour blend to avoid lumps and ensure even mixing.
- Adjust liquid amounts slightly, as gluten-free flours absorb water differently than wheat flour.
- Test small batches to find the best blend for your desired texture and flavor.
Step-by-Step Gluten-Free Bread Recipe Instructions
Preparing the Dough
- Ingredients:
- 2 cups (240g) gluten-free flour blend (store-bought or homemade).
- 1 ½ teaspoons xanthan gum or psyllium husk powder (if not included in the blend).
- One teaspoon
- One tablespoon of sugar or honey.
- One packet (2 ¼ teaspoons) of active dry or instant yeast.
- 1 cup (240ml) warm water (105°F–110°F).
- Two tablespoons (e.g., olive oil, vegetable oil, or melted butter).
- One egg or flaxseed gel (1 tablespoon ground flaxseed + 3 tablespoons water for a vegan option).
- Instructions:
- In a small bowl, combine warm water, yeast, and sugar. Let it sit for 5-10 minutes until frothy (skip this step if using instant yeast).
- In a large mixing bowl, whisk together the gluten-free flour blend, salt, and xanthan gum (if not pre-included).
- Add the yeast mixture, oil, and egg to the dry ingredients. Mix until a sticky dough forms. The dough will be wetter than traditional bread dough.
Proofing and Shaping
- First Proof:
- Lightly oil a bowl and transfer the dough to it. Cover with plastic wrap or a clean towel.
- Let the dough rise in a warm, draft-free spot for 1-1.5 hours or until it doubles in size.
- Shaping:
- Grease a loaf pan (8.5 x 4.5 inches or similar).
- Gently deflate the dough and transfer it to the pan. Use a spatula or oiled hands to shape and smooth the dough into an even layer.
- Second Proof:
- Cover the pan loosely with plastic wrap or a towel.
- Let the dough rise again for 30-45 minutes or until it reaches just above the rim of the pan.
Baking for Optimal Results
- Preheat the Oven:
- Preheat to 375°F (190°C) while the dough completes its second rise.
- Bake the Bread:
- Place the loaf pan in the center of the oven and bake for 35-40 minutes or until the top is golden brown.
- Check for Doneness:
- Use an instant-read thermometer to check the internal temperature—it should read 200°F–210°F (93°C–99°C) for fully baked bread.
- Cool the Bread:
- Remove the bread from the pan and transfer it to a wire rack. Allow it to cool completely before slicing to prevent a gummy texture.
Baking Techniques for Gluten-Free Bread Recipe
Low and Slow Baking for Moisture
- Bake at a Moderate Temperature:
- Gluten-free bread benefits from baking at a slightly lower temperature, around 350°F–375°F (175°C–190°C). This allows the bread to cook evenly without drying or browning too quickly.
- Extend Baking Time:
- Because gluten-free doughs are often wetter, they require a longer baking time to ensure the center is fully cooked. A standard loaf may take 40–50 minutes, depending on its size and the recipe.
- Use a Water Bath for Humidity:
- Place a pan of hot water on the bottom rack of the oven while baking. This adds steam, keeping the bread moist and preventing the crust from hardening too quickly.
- Cover the Bread Midway:
- If the bread begins to brown too much before the inside is fully baked, tent it loosely with aluminum foil to prevent over-browning.
- Cooling for Texture:
- After baking, allow the bread to cool completely on a wire rack. This helps set the crumb and prevents it from becoming gummy when sliced.
Testing for Doneness
- Internal Temperature:
- Use an instant-read thermometer to check the center of the bread. To ensure the loaf is fully baked, it should reach 200°F–210°F (93°C–99°C).
- Tap Test:
- Remove the loaf from the pan and gently tap the bottom. A hollow sound indicates the bread is done.
- Visual Cues:
- The crust should be golden brown and firm. Gluten-free bread doesn’t brown as much as traditional bread, so don’t rely solely on color.
- Texture Check:
- If the bread feels overly dense or gummy after cooling, it may need more baking time. If necessary, return it to the oven for an additional 5–10 minutes.
Nutritional Information and Health Benefits
Calories and Nutritional Breakdown
The nutritional content of gluten-free bread varies depending on the ingredients used. A typical slice (about 40g) of homemade gluten-free bread provides:
- Calories: 90–120 (based on flour types and added fats).
- Carbohydrates: 18–22g (mainly from rice flour, starches, or other flour).
- Protein: 2–4g (enhanced with almond flour, eggs, or seeds).
- Fat: 1–4g (depending on oils or butter used).
- Fiber: 1–3g (higher with whole-grain or seed flours).
Homemade gluten-free bread often has fewer preservatives and additives than store-bought, making it a healthier choice.
Benefits of Gluten-Free Eating
- For Individuals with Celiac Disease:
- It is essential for avoiding damage to the small intestine caused by gluten. Gluten-free bread ensures that those with celiac disease can enjoy bread safely without adverse reactions.
- For Non-Celiac Gluten Sensitivity:
- Gluten-free diets can alleviate bloating, fatigue, and headaches for those sensitive to gluten.
- Digestive Health:
- Gluten-free flours like almond, sorghum, and oat flour can increase fiber intake, supporting better digestion.
- Nutritional Customization:
- Making gluten-free bread at home allows for the inclusion of nutrient-dense ingredients like seeds (flaxseed, chia) or nuts (almond flour) to enhance protein, fiber, and healthy fat content.
- Inclusive Eating:
- Gluten-free bread ensures inclusivity at meals, accommodating dietary needs without compromising taste or texture.
- Variety of Flours:
- Gluten-free baking encourages the use of alternative grains, which can diversify and enhance your diet with vitamins, minerals, and antioxidants.
Frequently Asked Questions (FAQs)
Can I Make Gluten-Free Bread Recipe Without a Mixer?
Yes, gluten-free bread can be made without a stand mixer! Here’s how:
- Mixing by Hand:
- Combine the wet and dry ingredients in a large mixing bowl using a sturdy wooden spoon or silicone spatula. Gluten-free dough is typically wetter and stickier than traditional dough, so mixing thoroughly is essential to ensure an even distribution of ingredients.
- Tips for Hand Mixing:
- Use a whisk or fork to break up lumps in the dry ingredients before adding liquids.
- Work in small batches when incorporating liquids to avoid overexertion.
- Alternative Tools:
- A hand mixer with dough hooks can also be used if you don’t have a stand mixer.
While mixing by hand requires more effort, great results are possible with the proper technique and patience.
Why Does Gluten-Free Bread Crumble?
Crumbly gluten-free bread is typical, usually due to insufficient binding agents or imbalanced ingredients. Here’s why it happens and how to fix it:
- Lack of Gluten Replacement:
- Gluten provides structure and elasticity in traditional bread. Without a proper substitute, such as xanthan gum, guar gum, or psyllium husk, gluten-free bread can fall apart.
- Solution: To improve binding, add 1–2 teaspoons of xanthan gum or psyllium husk powder per cup of flour.
- Too Much Flour or Too Little Liquid:
- Gluten-free doughs require more hydration than traditional doughs. Adding too much flour or liquid can lead to a dry, crumbly texture.
- Solution: Follow recipes closely and measure ingredients accurately. If the dough feels too dry, adjust it with small amounts of water.
- Under-Mixed Dough:
- Gluten-free dough needs thorough mixing to distribute the ingredients and ensure proper binding evenly.
- Solution: Mix the dough until it is smooth and uniform.
- Inadequate Fats or Moisturizers:
- Fats like butter or oil and moisturizers like yogurt or applesauce help create a softer crumb. Without them, the bread may be dry and brittle.
- Solution: Incorporate a small amount of fat (2–3 tablespoons) into your recipe.
- Storage Issues:
- Improper storage can cause gluten-free bread to dry out and crumble.
- Solution: Store bread in an airtight container at room temperature for short-term use or freeze slices for more extended storage.
Conclusion
Why Homemade Gluten-Free Bread Recipe is Better
Homemade gluten-free bread stands out for its freshness, flavor, and customization. Unlike store-bought versions, which can be overly dense, dry, or loaded with preservatives, homemade bread allows you to control every ingredient, ensuring a nutritious and delicious loaf. From choosing high-quality gluten-free flours to incorporating your favorite seeds, herbs, or sweeteners, baking at home offers endless possibilities for personalization.
The effort to make your gluten-free bread results in a soft, flavorful loaf with a texture that rivals traditional wheat bread. Whether baking for dietary needs or simply exploring new recipes, the rewards of homemade gluten-free bread are undeniable.
Encouragement to Try Variations
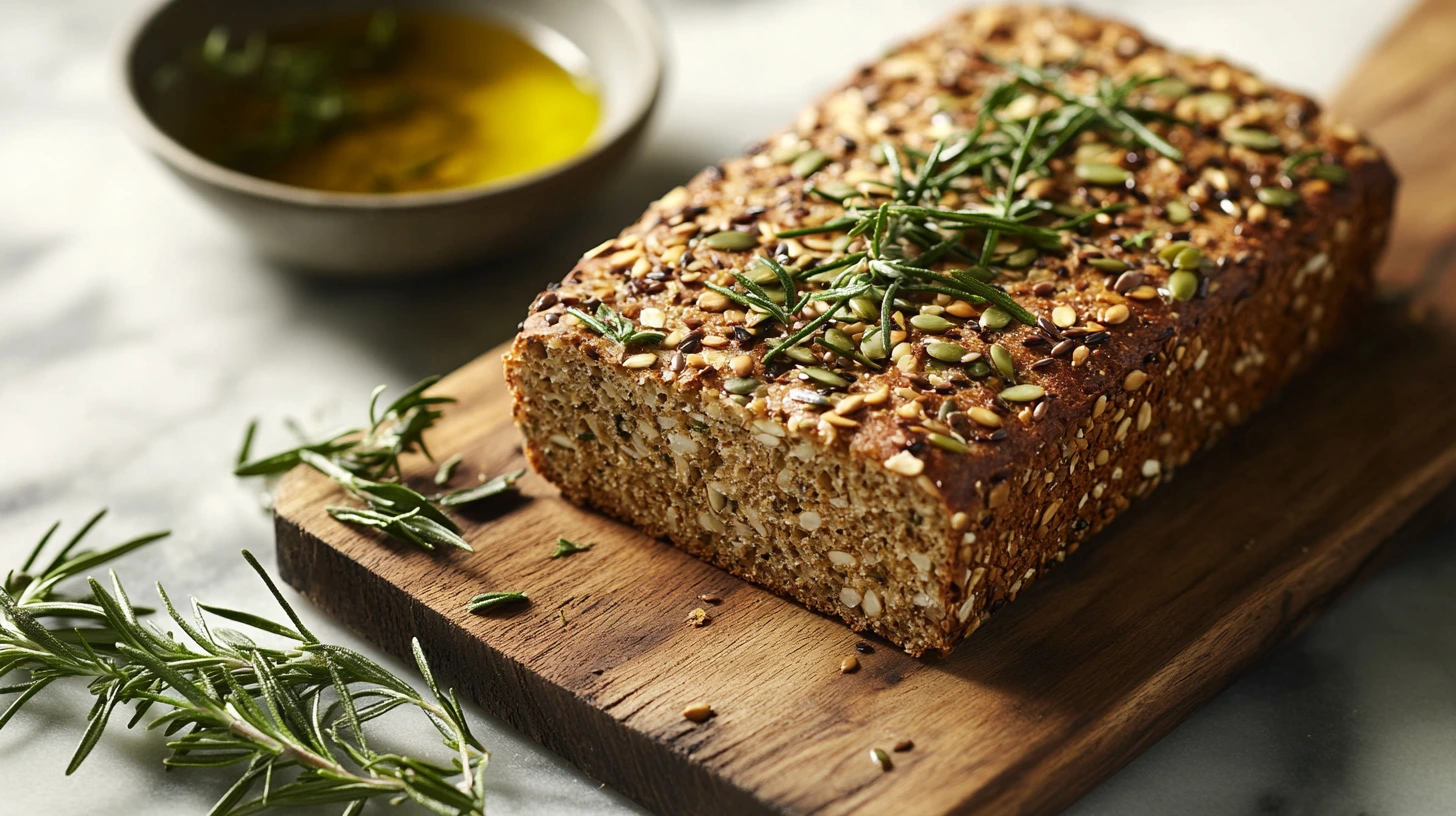
Experimenting with gluten-free bread recipes opens the door to creativity in your kitchen. Try incorporating different flours, such as almonds, sorghum, or oat, to discover new flavors and textures. Add mix-ins like flaxseeds, chia seeds, or dried fruits for extra nutrition and variety.
For a savory twist, include garlic, rosemary, or cheese in your dough. If you have a sweet tooth, try a cinnamon-raisin version or add a touch of honey for natural sweetness.
Remember, every loaf is an opportunity to refine your skills and customize the bread to suit your taste. With practice and experimentation, you’ll master the art of gluten-free bread baking and enjoy sharing your delicious creations with friends and family.
Try this recipe tonight and tag us @biscsweet on social media and follow us on Facebook.