Table of Contents
Introduction to Oreo Pie Recipe
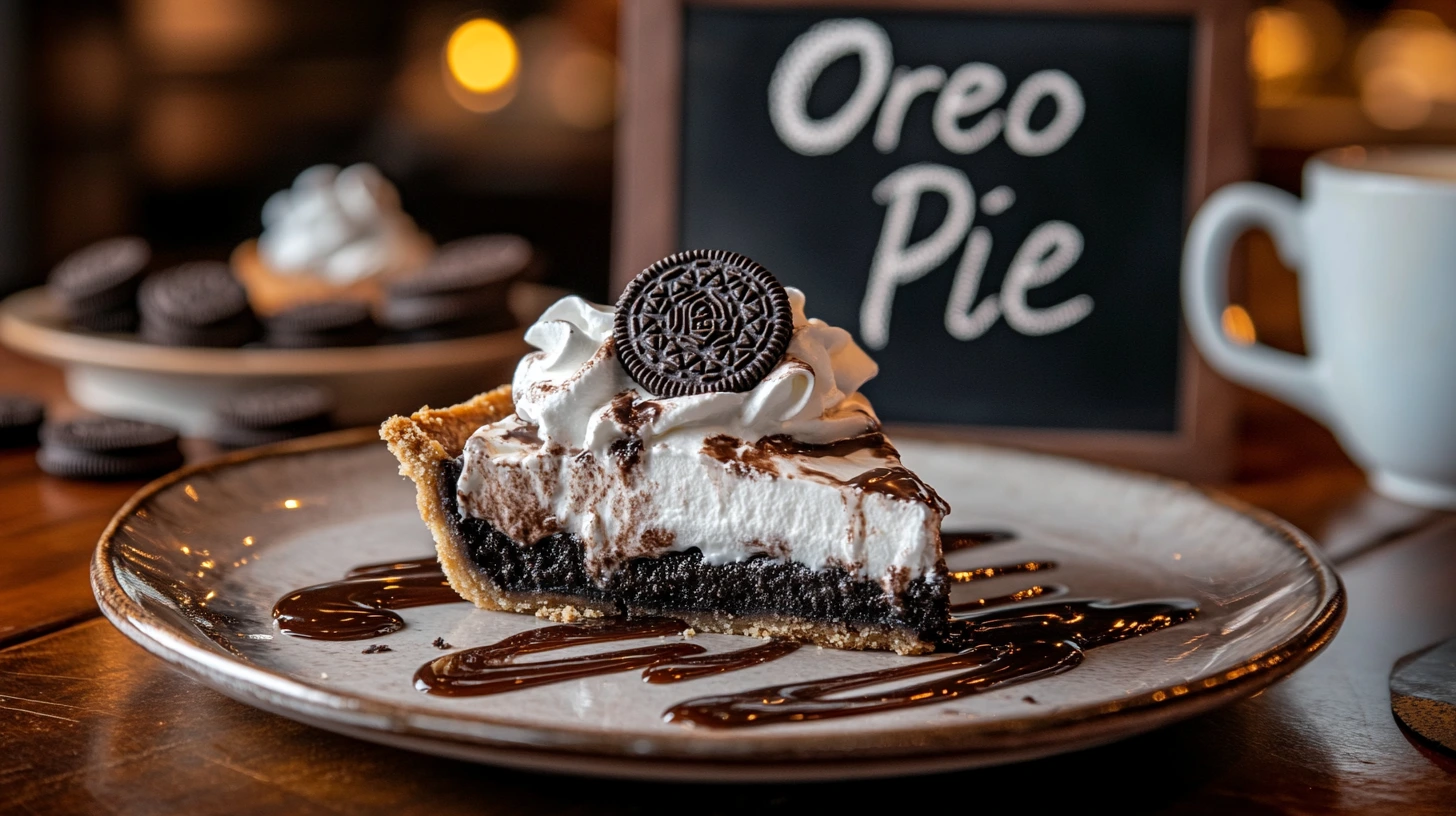
What is an Oreo Pie?
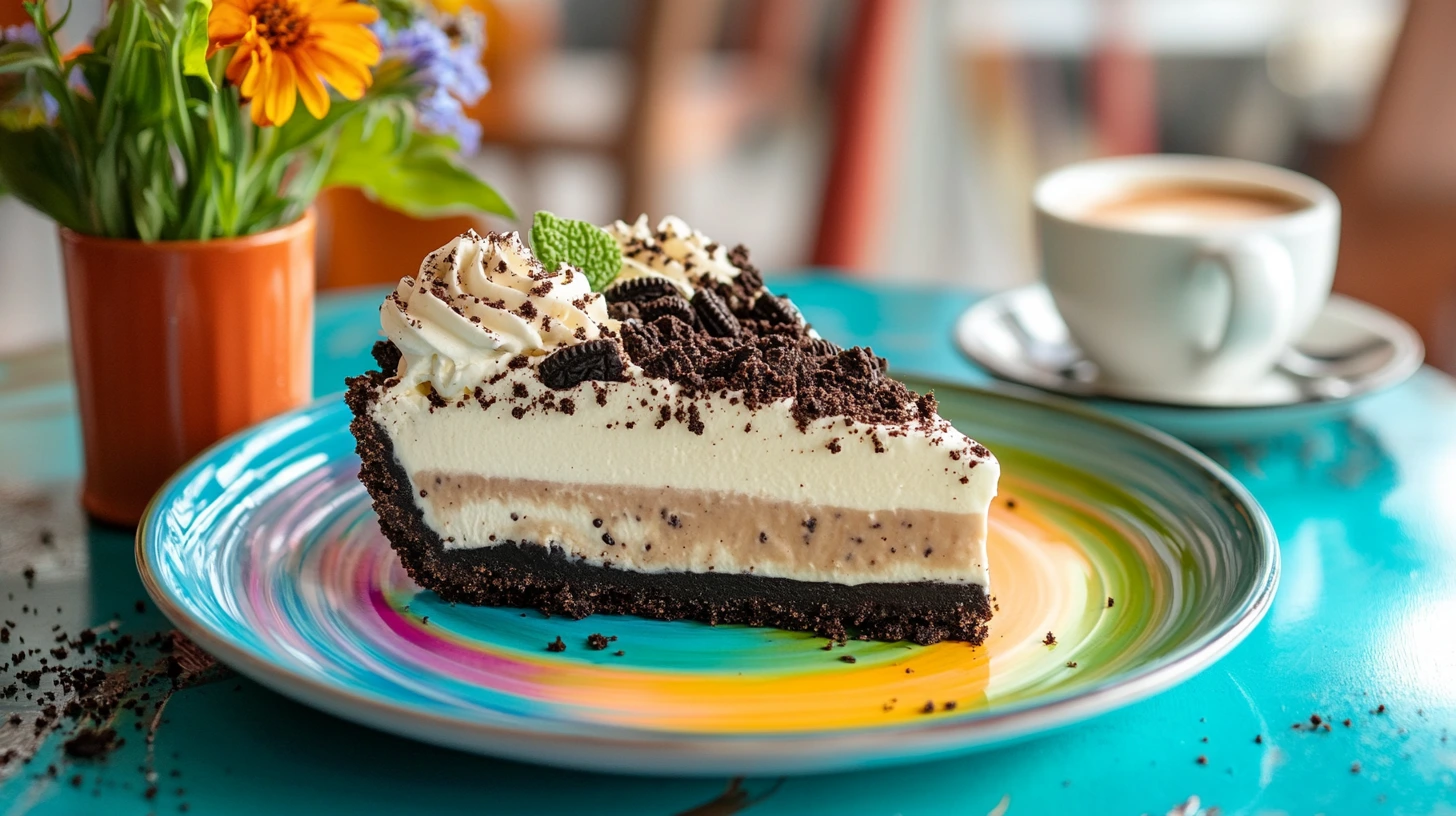
Oreo Pie Recipe is a delightful dessert that combines the rich, creamy flavors of cheesecake with the iconic crunch and taste of Oreo cookies. This no-bake treat typically features a crust from crushed Oreo cookies, a luscious cream cheese or pudding-based filling, and a topping of whipped cream or more crushed Oreos. Its simplicity and indulgent taste make it a favorite for all ages.
Why is Oreo Pie So Popular?
Oreo Pie’s popularity can be attributed to its universally loved ingredients and ease of preparation. The familiar taste of Oreos brings comfort and nostalgia, while the creamy filling adds a layer of decadence. It’s versatile enough to be served at casual gatherings, birthday parties, or as a quick dessert for family dinners. Additionally, the recipe’s no-bake nature appeals to novice and experienced bakers, making it a go-to choice for anyone looking to whip up a delicious treat with minimal effort.
Ingredients Overview
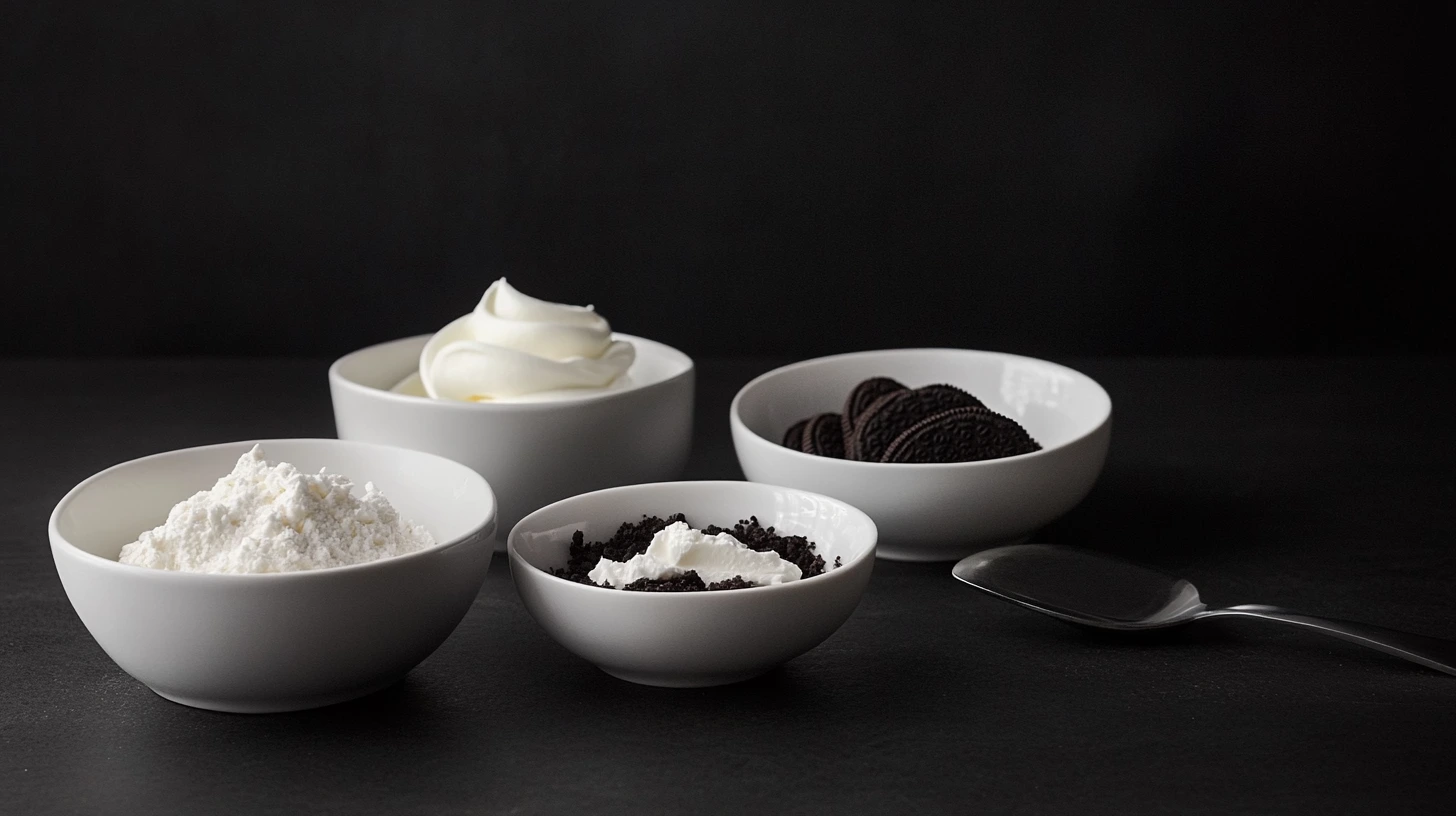
Essential Ingredients for Oreo Pie Recipe
For the Crust:
- 25 Oreo cookies (regular or gluten-free)
- Five tablespoons unsalted butter melted.
the Filling:
- 8 ounces cream cheese, softened
- 1/2 cup powdered sugar
- One teaspoon of vanilla extract
- 2 cups whipped topping (or freshly whipped cream)
- Ten crushed Oreo cookies (for mixing into the filling)
Topping:
- Additional whipped topping (optional)
- 5 crushed Oreos for garnish
Instructions
1: Prepare the Oreo Crust
- Place 25 Oreo cookies in a food processor and pulse until finely crushed. Alternatively, crush them in a ziplock bag with a rolling pin.
- Mix the crushed cookies with melted butter until the texture resembles wet sand.
- Press the mixture firmly into the bottom and sides of a 9-inch pie pan to form the crust.
- Refrigerate the crust while you prepare the filling.
2: Make the Filling
- In a large bowl, beat the softened cream cheese with powdered sugar and vanilla extract until smooth and creamy.
- Gently fold in 2 cups of whipped topping until fully incorporated.
- Stir in the ten crushed Oreo cookies to add texture and flavor.
3: Assemble the Pie
- Spread the filling evenly over the chilled Oreo crust, smoothing the top with a spatula.
- Add an optional layer of whipped topping over the filling for extra creaminess.
4: Garnish and Chill
- Sprinkle five crushed Oreos over the top as garnish.
- Refrigerate the pie for at least 4 hours (or overnight) to allow the filling to set.
5: Serve and Enjoy
- Slice the chilled pie into wedges and serve.
- Optional: Pair it with a drizzle of chocolate syrup or a scoop of vanilla ice cream for indulgence.
Tips:
- For a firmer crust, bake the Oreo crust at 350°F (175°C) for 8 minutes, then cool before adding the filling.
- Store leftovers in the refrigerator for up to 3 days.
Alternative Ingredients and Substitutions
For those with dietary preferences or looking to experiment, here are some alternatives:
- Gluten-Free Oreos: Use gluten-free Oreos to make the dessert suitable for those who avoid gluten.
- Dairy-Free Options: Substitute cream cheese with dairy-free cream cheese and use coconut cream or a non-dairy whipped topping.
- Sugar Alternatives: To reduce refined sugar content, use natural sweeteners like honey, maple syrup, or a sugar substitute.
- Flavored Variations: For a unique twist, swap classic Oreos with flavored versions (e.g., mint, peanut butter, or golden Oreos).
- Chocolate Ganache Topping: Add a layer of chocolate ganache for an extra indulgent finish instead of whipped cream.
These flexible ingredient options allow you to tailor Oreo Pie to different tastes and dietary needs while maintaining its delicious essence.
Step-by-Step Oreo Pie Recipe
Making the Oreo Crust
- Crush the Cookies: Place 25 Oreo cookies in a food processor and pulse until they turn into fine crumbs. Use a ziplock bag and rolling pin if you don’t have a food processor.
- Combine with Butter: Mix the crushed Oreos with five tablespoons of melted unsalted butter until the texture resembles wet sand.
- Form the Crust: Press the mixture evenly into the bottom and sides of a 9-inch pie pan. Pack the back of a spoon or the bottom of a glass tightly.
- Chill the Crust: Refrigerate the crust while you prepare the filling. If you prefer a firmer crust, bake it at 350°F (175°C) for 8 minutes, then let it cool completely.
Preparing the Creamy Filling
- Beat the Cream Cheese: In a large mixing bowl, beat 8 ounces of softened cream cheese with 1/2 cup powdered sugar and one teaspoon of vanilla extract until smooth and fluffy.
- Fold in Whipped Topping: Gently fold in 2 cups of whipped topping (or freshly whipped cream) to create a light, airy texture.
- Add Crushed Oreos: Stir in 10 crushed Oreos to give the filling a delicious crunch and flavor.
Assembling the Pie
- Spread the Filling: Remove the chilled crust from the refrigerator and spread the creamy filling evenly over it. Smooth the top with a spatula for a polished look.
- Add Toppings: For an extra touch, spread a layer of whipped topping over the filling and sprinkle five crushed Oreos on top as garnish.
- Chill to Set: Refrigerate the assembled pie for at least 4 hours or overnight to allow the filling to firm up.
Baking Tips for Oreo Pie Recipe
Common Mistakes to Avoid
- Using Softened Oreos for the Crust: Ensure your Oreos are fresh and crunchy when making the crust. Soft or stale cookies won’t hold together as well.
- Skipping the Chill Time: Rushing the chilling process can result in a pie that doesn’t hold its shape when sliced. Be patient and let it set for at least 4 hours or overnight.
- Overmixing the Filling: Overmixing whipped topping into the cream cheese can deflate its airy texture. Gently fold it in to retain the fluffiness.
- Uneven Crust Thickness: Press the crust evenly across the pan to avoid thick spots that can overpower the filling or thin spots that crumble easily.
- Not Soften Cream Cheese Properly: Using cream cheese that’s too cold can result in a lumpy filling. Allow it to soften at room temperature before mixing.
How to Achieve the Perfect Texture and Flavor
- Firm and Crunchy Crust: For a sturdier crust, consider baking the Oreo crust for 8 minutes at 350°F (175°C) and letting it cool completely before filling.
- Smooth and Creamy Filling: Beat the cream cheese and sugar thoroughly until completely smooth before folding in the whipped topping to achieve a luscious, silky texture.
- Flavor Balance: Add a pinch of salt to the crust mixture to balance the pie’s sweetness.
- Garnish Creativity: To incorporate texture and presentation, top the pie with whole Oreos, chocolate shavings, or even a drizzle of caramel or chocolate syrup.
- Chill Properly: Ensure the pie chills long enough to set firmly. Overnight chilling often provides the best results for both texture and flavor.
Storing and Serving Oreo Pie Recipe
How to Properly Store Oreo Pie
- Refrigeration: To keep your Oreo Pie fresh, store it in the refrigerator, covered with plastic wrap or aluminum foil. It can last for up to 3-4 days.
- Airtight Containers: To ensure freshness and prevent the pie from absorbing odors from other foods, place it in an airtight container.
- Freezing for Long-Term Storage:
- Wrap the pie tightly in plastic wrap, then in aluminum foil.
- Freeze for up to 2 months.
- To serve, thaw it in the refrigerator overnight for the best texture.
- Avoid Room Temperature Storage: Oreo Pie contains cream cheese and whipped topping, which can spoil if left out for more than 2 hours.
Serving Suggestions and Pairings
- Classic Presentation: Slice the pie into wedges and serve chilled, topped with additional whipped cream or a sprinkle of crushed Oreos.
- Warm Beverage Pairings:
- Coffee: A hot cup of black coffee or a latte pairs beautifully with the creamy richness of Oreo Pie.
- Hot Chocolate: Enhance the indulgence by pairing it with a creamy, chocolatey drink.
- Cold Beverage Pairings:
- Milk: A glass of cold milk complements the Oreo flavors and provides a nostalgic touch.
- Milkshake: Pair with an Oreo or vanilla milkshake for a decadent treat.
- Ice Cream Topping: For extra indulgence, serve slices with a scoop of vanilla or cookies and cream ice cream.
- Elegant Garnishes:
- For a polished presentation, add chocolate shavings, a caramel drizzle, or a dollop of whipped cream on the side.
- For a decorative touch, top each slice with a mini Oreo or a whole Oreo cookie.
Healthier Oreo Pie Recipe
Low-calorie and Vegan Alternatives
- Low-Calorie Modifications:
- Use Reduced-Fat Oreos: Swap regular Oreos for reduced-fat or thin versions to cut calories and fat.
- Replace Full-Fat Cream Cheese: Opt for light cream cheese or a fat-free alternative.
- Use Sugar Substitutes: Replace powdered sugar with a natural sweetener like stevia or a low-calorie sugar substitute.
- Light Whipped Topping: Choose a low-calorie whipped topping or make your own with light cream.
- Vegan Oreo Pie:
- Vegan Oreos: Most Oreo varieties are naturally vegan. Double-check labels to confirm.
- Dairy-Free Cream Cheese: Use plant-based cream cheese, almond, cashew, or soy-based options.
- Coconut Whipped Cream: Replace whipped topping with coconut cream for a creamy, vegan-friendly alternative.
- Vegan Butter: Use plant-based butter for the crust to maintain the pie’s structure and flavor.
Using Gluten-Free Oreos and Dairy-Free Fillings
- Gluten-Free Oreo Pie Recipe:
- Replace regular Oreos with gluten-free Oreos to make the dessert suitable for those with gluten sensitivities or celiac disease.
- Ensure other ingredients, like whipped topping and cream cheese, are certified gluten-free to avoid cross-contamination.
- Dairy-Free Fillings:
- Plant-Based Cream Cheese: Use almond, soy, or coconut-based cream cheese to achieve a creamy filling without dairy.
- Non-Dairy Milk: If your recipe includes milk or pudding, substitute with almond, oat, or coconut milk.
- Whipped Coconut Cream: Make a dairy-free whipped topping by refrigerating a can of full-fat coconut milk and whipping the solidified cream.
Additional Tips for Healthier Variations:
- Add fresh fruit toppings like strawberries, raspberries, or bananas to enhance flavor and nutrition.
- Consider using a smaller pie pan to create a thicker filling layer, which allows for smaller slices with more satisfaction.
- For a nutty twist, mix crushed nuts like almonds or pecans into the crust for added texture and protein.
Nutritional Information
Calorie Count and Serving Size
The typical nutritional breakdown for a classic Oreo Pie (based on eight servings) is as follows:
- Serving Size: 1 slice (1/8 of the pie)
- Calories: Approximately 400-450 kcal
- Fat: 25-30 grams
- Carbohydrates: 40-45 grams
- Protein: 3-5 grams
- Sugar: 25-30 grams
Note: The exact values depend on the specific brands and quantities of ingredients used, such as full-fat versus reduced-fat options.
Adjusting for Dietary Preferences
- Lower-Calorie Version:
- Use reduced-fat Oreos or Oreo Thins.
- Swap full-fat cream cheese for light or fat-free cream cheese.
- Replace whipped topping with a low-calorie whipped topping.
- Gluten-Free Option:
- Substitute regular Oreos with gluten-free Oreos.
- Ensure all other ingredients, such as cream cheese or whipped topping, are certified gluten-free.
- Vegan-Friendly Pie:
- Choose vegan cream cheese and use plant-based whipped cream (e.g., whipped coconut cream).
- Ensure the Oreos used are certified vegan (most varieties are, but confirm on the label).
- Low-Sugar Alternatives:
- Use a sugar substitute like stevia, erythritol, or monk fruit instead of powdered sugar.
- Opt for sugar-free whipped toppings or make your own using unsweetened ingredients.
- Higher Protein Variation:
- Incorporate a scoop of vanilla or unflavored protein powder into the cream cheese filling.
- Add crushed nuts (almonds, pecans) to the crust for extra protein.
Frequently Asked Questions (FAQs)
How Long Does an Oreo Pie Recipe Last in the Fridge?
When properly stored, an Oreo Pie can last 3 to 4 days in the refrigerator. To maintain its freshness and flavor:
- Cover the pie tightly with plastic wrap or aluminum foil.
- Alternatively, store it in an airtight container to prevent it from absorbing odors from other foods.
If you need to store the pie longer, freezing is an option. Wrap it securely in plastic wrap and aluminum foil, then freeze for up to 2 months. Thaw it in the fridge overnight before serving.
Can I Use Homemade Oreos?
Yes, you can use homemade Oreos to make an Oreo Pie! This adds a personal touch and allows you to control the ingredients for a healthier or customized version. Keep the following in mind:
- Texture: Ensure your homemade Oreos are firm and crunchy to create a sturdy crust.
- Flavor: Homemade Oreos might have a slightly different taste depending on the recipe. Adjust the sweetness of the filling to complement your cookies.
- Quantity: Use the exact weight of homemade cookies as store-bought Oreos (approximately 14 ounces or 400 grams for the crust and garnish).
Conclusion
Oreo Pie Recipe is a timeless dessert loved for its rich flavors, creamy texture, and universal appeal. Whether you follow the classic recipe or adapt it to suit your dietary needs, this versatile treat is perfect for any occasion. From its crunchy Oreo crust to its luscious filling, every bite blends indulgence and nostalgia.
With easy-to-follow steps, customization options, and storage tips, Oreo Pie is a crowd-pleasing dessert anyone can make. Whether hosting a party, celebrating a special day, or simply craving a sweet treat, this pie will satisfy you.
So gather your ingredients, let your creativity shine, and enjoy the process of making a delicious Oreo Pie that’s sure to become a favorite in your home!
Try this recipe tonight and tag us @biscsweet on social media and follow us on Facebook.